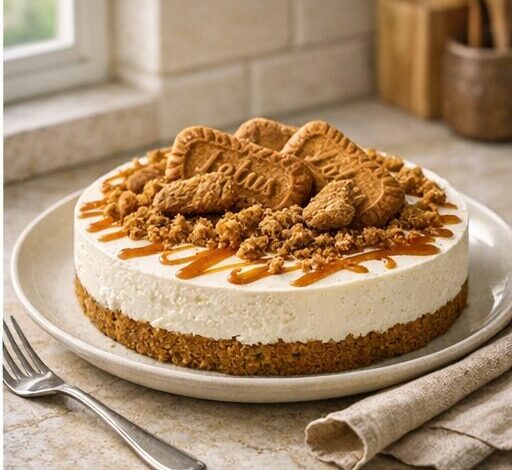
Introduction to Easy No-Bake Lotus Biscoff Cheesecake
For dessert lovers seeking a quick yet indulgent treat, the Easy No-Bake Lotus Biscoff Cheesecake offers a perfect solution. This cheesecake combines the distinctive caramelized spice notes of Lotus Biscoff biscuits with a luxuriously smooth, creamy filling that sets without any baking. Ideal for warm days or when you want to avoid heating up the kitchen, this dessert is both simple to prepare and impressive to serve.
Whether you’re a seasoned baker or a beginner, this recipe is designed to be straightforward, requiring minimal equipment and ingredients, yet delivering a rich and satisfying dessert experience. The no-bake method means you can have a delicious cheesecake ready in just a few hours, with no oven required.
Why This No-Bake Cheesecake Works So Well
The success of this no-bake cheesecake lies in its harmonious balance of textures and flavors. The crunchy Lotus Biscoff biscuit crust provides a sweet, spiced base that contrasts beautifully with the silky cream cheese filling. The use of gelatin or a vegetarian alternative ensures the filling sets firmly without baking, giving it a smooth, sliceable consistency.
Incorporating whipped cream into the filling lightens the texture, making each bite delightfully airy and mousse-like rather than dense. This balance of creamy and crunchy elements makes the cheesecake irresistible and perfect for any occasion.
Ingredient Notes
- Lotus Biscoff biscuits: These caramelized, spiced biscuits create a flavorful crust with a unique depth of flavor. Crushing them finely ensures the crust holds together well, but you can also fold some crushed biscuits into the filling for added texture.
- Cream cheese: Use full-fat cream cheese for the richest, creamiest texture. It’s important to soften the cream cheese to room temperature before mixing to avoid lumps and to achieve a smooth filling.
- Whipping cream: Fresh, chilled whipping cream is essential. Whip it to soft peaks to incorporate air and create a light, fluffy filling. Over-whipping can cause the cream to become grainy or turn into butter, so watch carefully.
- Gelatin powder: This acts as the setting agent. Blooming the gelatin in cold water before gently warming it ensures it dissolves fully without boiling, which can compromise its setting power. For vegetarian alternatives, agar-agar can be used, but follow package instructions closely.
- Vanilla extract: Pure vanilla extract enhances the overall flavor, adding warmth and depth to the filling.
- Icing sugar: Sifted icing sugar sweetens the filling smoothly without any graininess.
Step-by-Step Preparation Tips
Preparing the Crust
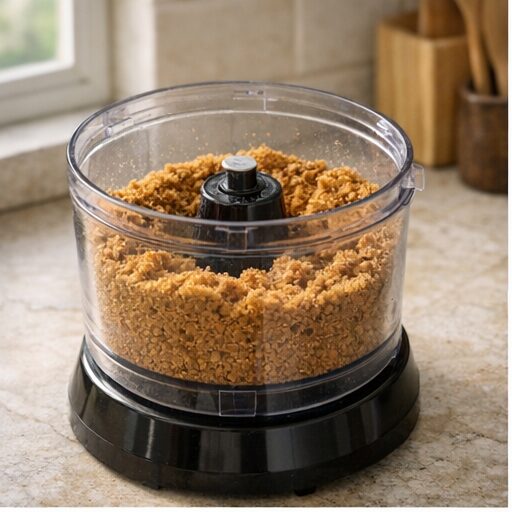
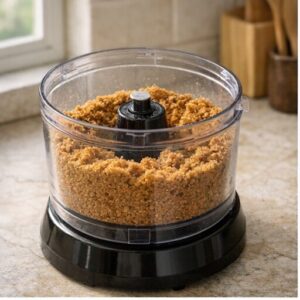
Start by crushing the Lotus Biscoff biscuits finely. Using a food processor is the quickest method, but if you don’t have one, place the biscuits in a sealed plastic bag and crush them with a rolling pin until you achieve a fine, even crumb. The finer the crumbs, the better the crust will bind.
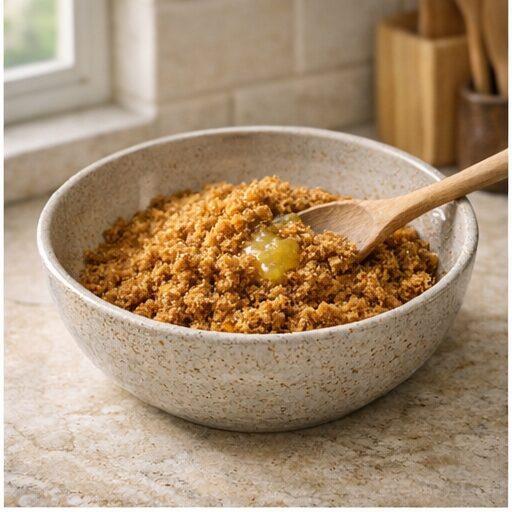
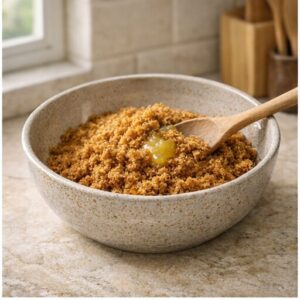
Mix the crushed biscuits thoroughly with melted unsalted butter. The butter acts as a binder and adds richness. Ensure the crumbs are evenly coated with butter so the crust holds together when pressed.
Press the biscuit mixture firmly and evenly into the base of an 8-inch springform pan. Use the back of a spoon or the bottom of a flat glass to compact the crust tightly. This step is crucial to prevent the crust from crumbling when sliced. Once pressed, chill the crust in the refrigerator while preparing the filling to help it set.
Blooming and Dissolving Gelatin
Sprinkle the gelatin powder evenly over cold water in a small saucepan. Let it sit undisturbed for about 5 minutes to absorb the water and bloom. This step is essential for the gelatin to dissolve properly.
After blooming, gently warm the gelatin over low heat, stirring continuously until it fully dissolves. Be careful not to let it boil, as excessive heat can weaken the gelatin’s setting ability. Once dissolved, remove from heat and allow it to cool slightly but not set.
Making the Filling
In a large mixing bowl, beat the softened cream cheese with sifted icing sugar and vanilla extract using an electric mixer until smooth and creamy. This may take a few minutes to ensure no lumps remain.
In a separate bowl, whip the chilled whipping cream until soft peaks form. Soft peaks mean the cream holds its shape but still has a slight droop when you lift the whisk.
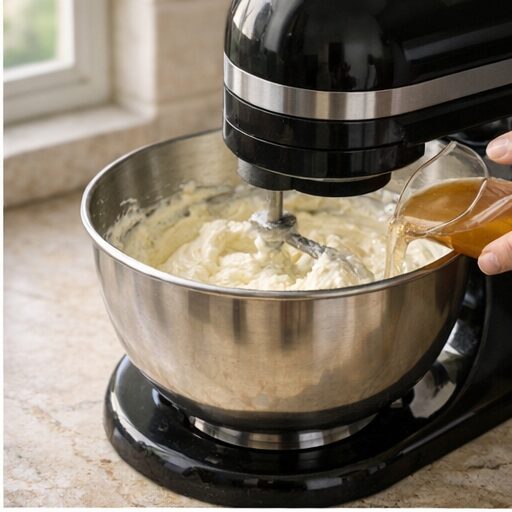
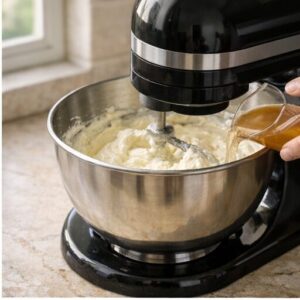
Slowly pour the dissolved gelatin into the cream cheese mixture while mixing on low speed to combine evenly. This gradual addition prevents the gelatin from setting prematurely or forming lumps.
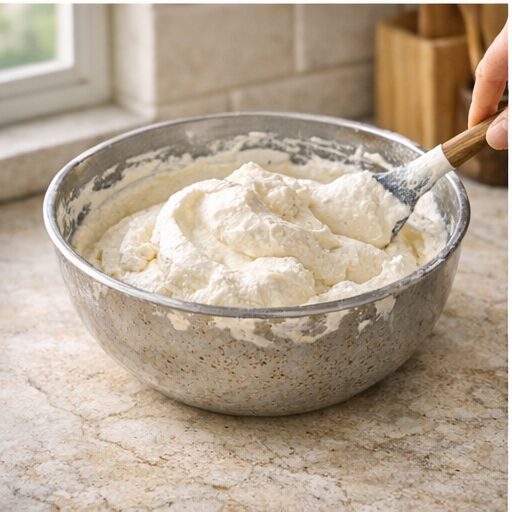
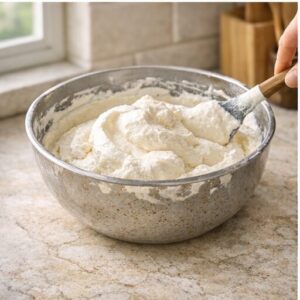
Finally, gently fold the whipped cream into the cream cheese and gelatin mixture using a spatula. Use slow, sweeping motions to maintain the airy texture. Avoid overmixing, which can deflate the whipped cream and result in a denser filling.
Assembling and Setting the Cheesecake
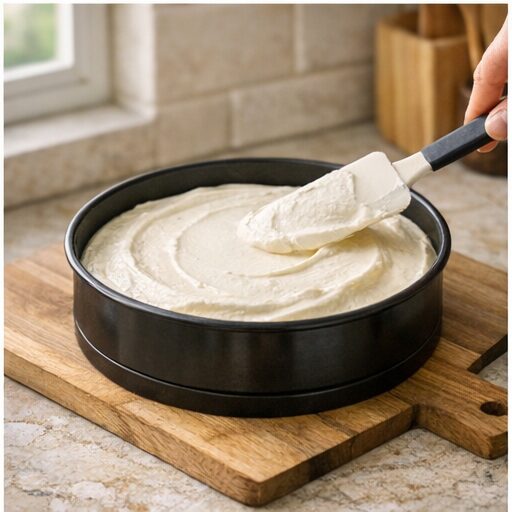
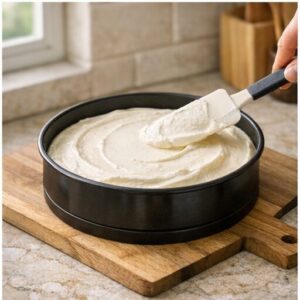
Pour the filling over the chilled biscuit crust in the springform pan. Smooth the top evenly with a spatula for a clean finish.
Cover the cheesecake tightly with plastic wrap and refrigerate for at least 4 hours, preferably overnight. This resting time allows the gelatin to fully set, ensuring the cheesecake slices cleanly and holds its shape.
Serving Suggestions and Garnishes
Before serving, carefully remove the sides of the springform pan. Let the cheesecake sit at room temperature for about 10 minutes to soften slightly, making it easier to slice without cracking.
For an elegant presentation, garnish with crushed Biscoff biscuits, a drizzle of caramel sauce, or a sprinkle of chopped nuts such as toasted pecans or hazelnuts. Fresh berries or a dusting of cinnamon can also complement the flavors beautifully.
Storage Guidance
Store the cheesecake covered in the refrigerator for up to 3 days. Keep it well wrapped to prevent it from absorbing any fridge odors. Avoid freezing, as this can alter the creamy texture and cause separation upon thawing.
Variations to Try
To customize your Easy No-Bake Lotus Biscoff Cheesecake, consider these variations:
- Caramel layer: Add a thin layer of caramel sauce over the crust before pouring the filling for added richness.
- Nutty crunch: Fold finely chopped toasted nuts into the filling or sprinkle on top for texture contrast.
- Citrus twist: Incorporate a teaspoon of lemon or orange zest into the filling for a fresh, zesty note.
- Chocolate addition: Swirl melted dark chocolate into the filling before setting for a marbled effect.
Frequently Asked Questions
Can I use a different biscuit for the crust?
Yes, graham crackers or digestive biscuits can be used as alternatives, but the signature caramelized spice flavor of Lotus Biscoff biscuits is unique and integral to this cheesecake’s character.
Is there a vegan option?
To make a vegan version, substitute the cream cheese and whipping cream with plant-based alternatives such as cashew cream cheese and coconut cream. Use agar-agar powder instead of gelatin, following the package instructions carefully for setting times and quantities.
What if I don’t have gelatin?
You can use agar-agar as a vegetarian alternative. However, agar-agar sets differently and can be firmer, so follow the package instructions precisely. Blooming agar-agar is not necessary, but it must be boiled to activate its gelling properties.
How do I know when the cheesecake is set?
The cheesecake is fully set when the filling feels firm to the touch and holds its shape when the pan is gently shaken. This usually takes at least 4 hours in the refrigerator, but overnight chilling is recommended for the best texture.
Can I prepare this cheesecake in advance?
Yes, this cheesecake can be made a day ahead. Just keep it covered and refrigerated until ready to serve. This makes it an excellent option for entertaining or meal prepping.
Conclusion
The Easy No-Bake Lotus Biscoff Cheesecake is a crowd-pleasing dessert that requires minimal effort but delivers maximum flavor. Its creamy, airy texture combined with the spiced biscuit crust makes it perfect for any occasion, from casual family dinners to special celebrations. With simple ingredients and straightforward preparation, it’s a recipe worth keeping in your dessert repertoire.
Enjoy crafting this luscious cheesecake and delight your guests with a no-fuss, no-bake treat that’s as beautiful as it is tasty.
More Recipes to Explore
For another cooking idea, explore Baked Cod with Saffron Lemon Sauce: A Flavorful and Elegant Seafood Dish.
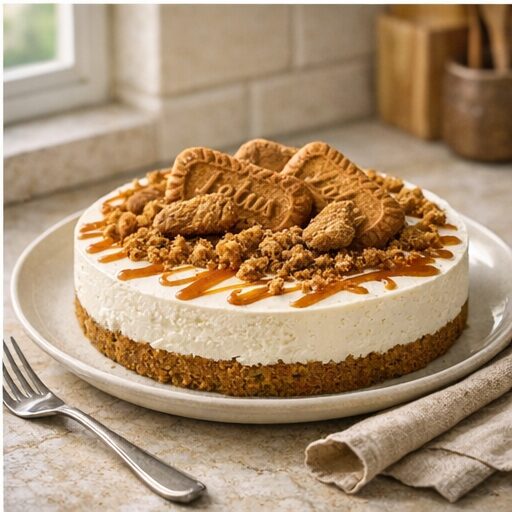
Easy No-Bake Lotus Biscoff Cheesecake: A Delightful Dessert
Ingredients
- 200 grams Lotus Biscoff biscuits For crust, crushed finely
- 100 grams Unsalted butter Melted, to bind crust
- 400 grams Cream cheese Softened to room temperature
- 100 grams Icing sugar Sifted
- 250 milliliters Whipping cream Chilled, for whipping
- 10 grams Gelatin powder Or vegetarian alternative
- 60 milliliters Cold water For blooming gelatin
- 1 teaspoon Vanilla extract Pure vanilla extract
Instructions
- Prepare the crust: Place Lotus Biscoff biscuits in a food processor and pulse until finely crushed. Alternatively, place biscuits in a sealed plastic bag and crush with a rolling pin.
- Transfer crushed biscuits to a mixing bowl and add melted unsalted butter. Mix thoroughly until the crumbs are evenly coated and hold together when pressed.
- Press the biscuit mixture firmly and evenly into the base of an 8-inch springform pan. Use the back of a spoon or a flat-bottomed glass to compact the crust. Chill in the refrigerator while preparing the filling.
- Bloom the gelatin: Sprinkle gelatin powder over cold water in a small saucepan. Let it sit for 5 minutes to absorb the water.
- Gently warm the gelatin over low heat, stirring until completely dissolved. Do not allow it to boil. Remove from heat and set aside to cool slightly but not set.
- In a large mixing bowl, beat the softened cream cheese with icing sugar and vanilla extract using an electric mixer until smooth and creamy.
- In a separate bowl, whip the chilled whipping cream until soft peaks form.
- Slowly pour the dissolved gelatin into the cream cheese mixture while mixing on low speed to combine evenly.
- Gently fold the whipped cream into the cream cheese and gelatin mixture using a spatula. Use gentle folding motions to maintain the airy texture.
- Pour the filling over the chilled biscuit crust in the springform pan. Smooth the top with a spatula.
- Cover the cheesecake with plastic wrap and refrigerate for at least 4 hours, preferably overnight, until fully set.
- To serve, remove the sides of the springform pan carefully. Allow the cheesecake to sit at room temperature for 10 minutes before slicing for easier cuts.
- Optionally, garnish with crushed Biscoff biscuits, caramel drizzle, or chopped nuts before serving.