
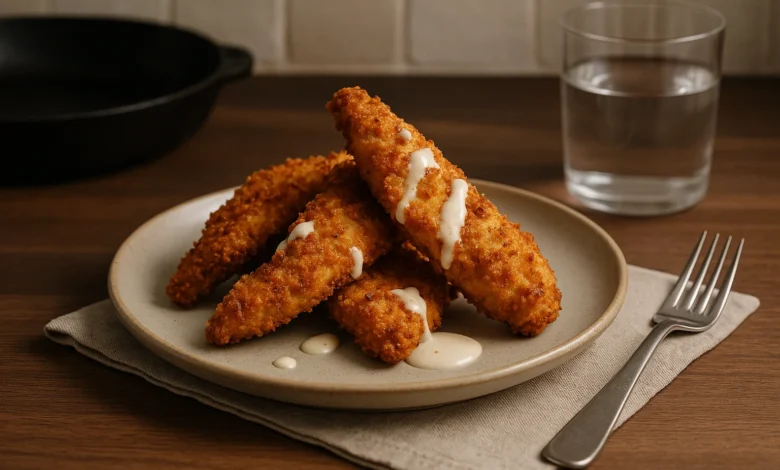
Introduction to Air Fryer Chicken Tender
Air fryer chicken tenders have rapidly become a favorite for those looking to enjoy crispy, flavorful chicken without the heaviness of traditional frying methods. Thanks to the air fryer’s innovative cooking technology, you can achieve a perfectly golden and crunchy exterior while keeping the chicken juicy and tender inside. This recipe is straightforward, quick, and ideal for weeknight dinners, snacks, or appetizers.
In this article, we’ll explore why the air fryer is an excellent tool for chicken tenders, share detailed tips on ingredient handling, preparation techniques, and offer practical advice on storage, reheating, and substitutions. Whether you’re new to air frying or looking to refine your method, these insights will help you make the best air fryer chicken tender every time.
Why Air Fryer Chicken Tenders Work So Well
The air fryer cooks food by circulating hot air rapidly around it, which crisps the outside while sealing in moisture. This method mimics the effect of deep frying but uses significantly less oil, making it a healthier choice without sacrificing texture or flavor. Chicken tenders, being naturally thin and uniform in size, cook quickly and evenly in an air fryer, ensuring a juicy interior and a satisfyingly crisp crust.
The key to success lies in the combination of a well-seasoned breadcrumb coating and the air fryer’s ability to evenly brown and crisp the exterior. Using panko breadcrumbs, known for their light and airy texture, adds an extra crunch that regular breadcrumbs can’t match. When paired with a flavorful spice blend, the coating becomes irresistible.
Ingredient Insights and Handling
Chicken Tenders: Use fresh or fully thawed chicken tenders for even cooking. Patting them dry with paper towels before breading is crucial to help the coating adhere properly and prevent sogginess.
Buttermilk: This acts as a tenderizing agent and helps the coating stick. If you don’t have buttermilk, you can substitute with milk mixed with a tablespoon of lemon juice or vinegar, letting it sit for 5 minutes before use.
Flour: A light dredge in all-purpose flour creates a base layer that helps the wet ingredients cling better to the chicken.
Panko Breadcrumbs and Seasonings: Combining panko with spices like paprika, garlic powder, onion powder, salt, and freshly ground black pepper adds both texture and flavor. Smoked paprika can be used for a subtle smoky note.
Cooking Oil Spray: While optional, a light spray of oil on the coated tenders before air frying promotes browning and crispiness without adding excess fat.
Step-by-Step Preparation and Cooking Tips
- Preheat the Air Fryer: Set your air fryer to 400°F (200°C) and allow it to preheat for about 5 minutes. This ensures the basket is hot and ready to crisp the coating immediately.
- Prepare the Breading Stations: Arrange three shallow dishes: one with flour, one with buttermilk, and one with the seasoned panko mixture. This setup streamlines the coating process.
- Pat the Chicken Dry: Use paper towels to remove excess moisture from the tenders. This step is essential for a crispy crust.
- Dredge and Coat: Lightly coat each tender in flour, shaking off excess. Dip into the buttermilk, allowing excess to drip off, then press firmly into the breadcrumb mixture to coat evenly.
- Double Coating (Optional): For extra crunch, repeat the buttermilk dip and breadcrumb coating once more. This creates a thicker, crunchier crust.
- Arrange in the Basket: Lightly spray the air fryer basket with oil to prevent sticking. Place tenders in a single layer, leaving space between pieces to allow hot air circulation.
- Apply Oil Spray: Lightly spray the tops of the tenders with cooking oil spray to enhance browning.
- Cook and Flip: Air fry for 6 minutes, then use tongs to flip each tender and cook for an additional 6 minutes. Check doneness with a meat thermometer; the internal temperature should reach 165°F (74°C).
- Rest Before Serving: Let the tenders rest for 2 minutes after cooking to allow juices to redistribute and the coating to set.
Texture and Timing Cues
The coating should be a deep golden brown and crisp to the touch. The chicken itself should feel firm but springy when pressed gently, indicating it’s cooked through but still juicy. If you notice any pale or soggy spots, it may be due to overcrowding or insufficient oil spray; adjust accordingly next time.
Variations and Substitutions
If you want to tailor the recipe to your preferences or dietary needs, consider these options:
- Gluten-Free: Substitute panko breadcrumbs with gluten-free breadcrumbs or crushed gluten-free cereal flakes. Use gluten-free flour or cornstarch for dredging.
- Flavor Twists: Add grated Parmesan cheese to the breadcrumb mixture for a cheesy crust. Swap smoked paprika for chili powder or cayenne pepper for a spicy kick.
- Buttermilk Alternatives: Use plain yogurt thinned with a little water or milk, or a plant-based milk with lemon juice for a dairy-free option.
Storage and Reheating Guidance
Leftover air fryer chicken tenders can be stored in an airtight container in the refrigerator for up to 3 days. To maintain their crispiness, reheat them in the air fryer at 350°F (175°C) for 3 to 5 minutes rather than using a microwave, which tends to make the coating soggy. For longer storage, freeze the cooked tenders in a single layer on a baking sheet, then transfer to a freezer-safe bag. Reheat from frozen in the air fryer, increasing cooking time slightly.
Frequently Asked Questions
Can I use frozen chicken tenders directly in the air fryer?
Yes, but you will need to increase the cooking time by a few minutes and ensure the internal temperature reaches 165°F (74°C). It’s best to thaw them first for more even cooking and better coating adherence.
Is oil spray necessary for air frying chicken tenders?
While not strictly necessary, a light spray of oil helps achieve a golden, crispy crust. If you prefer to avoid oil, the tenders will still cook but may be less crispy.
How do I check if the chicken tenders are cooked safely?
Use a meat thermometer inserted into the thickest part of the tender. The safe internal temperature for chicken is 165°F (74°C). This ensures the chicken is fully cooked and juicy.
Can I prepare the tenders ahead of time?
Yes, you can bread the chicken tenders and refrigerate them for up to 2 hours before cooking. This can help the coating adhere better. Avoid breading too far in advance to prevent sogginess.
Conclusion
Air fryer chicken tenders are a versatile, healthier alternative to traditional fried chicken that doesn’t compromise on taste or texture. By following the preparation and cooking tips outlined here, you’ll consistently achieve crispy, golden tenders with juicy interiors. Whether you’re serving them as a main dish, appetizer, or snack, these chicken tenders are sure to satisfy cravings and impress family and friends alike. Experiment with seasonings and coatings to make this recipe your own, and enjoy the convenience and deliciousness that air frying brings to your kitchen.
More Recipes to Explore
For another cooking idea, explore Honey Ginger Glazed Chicken Meatballs: A Perfectly Balanced Flavor Sensation.
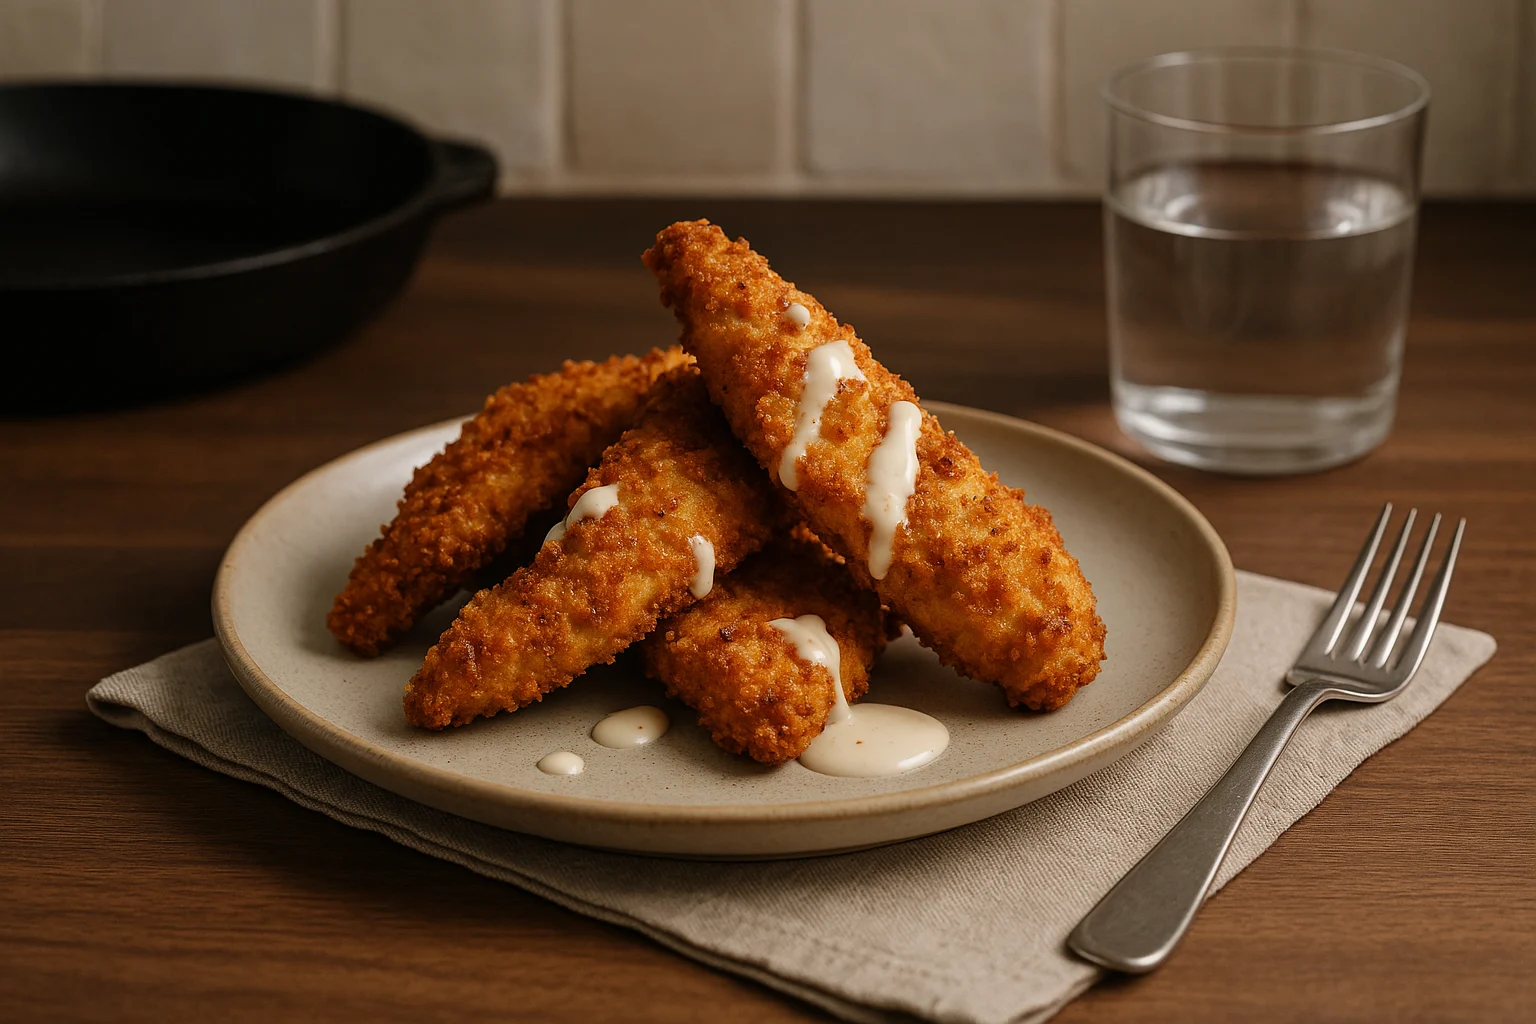
Perfectly Crispy Air Fryer Chicken Tenders: A Step-by-Step Guide
Ingredients
- 1 pound chicken tenders Fresh or thawed
- 1 cup buttermilk Or substitute with milk plus 1 tablespoon lemon juice
- 0.5 cup all-purpose flour For dredging
- 1 cup panko breadcrumbs For crispy coating
- 1 teaspoon paprika Smoked or regular
- 0.5 teaspoon garlic powder
- 0.5 teaspoon onion powder
- 0.75 teaspoon salt Adjust to taste
- 0.5 teaspoon black pepper Freshly ground recommended
- 1 spray cooking oil spray Optional, for crispiness
Instructions
- Preheat the air fryer to 400°F (200°C) for about 5 minutes.
- In a mixing bowl, pour the buttermilk. In a separate bowl, combine panko breadcrumbs, paprika, garlic powder, onion powder, salt, and black pepper.
- Place the all-purpose flour in another shallow dish for dredging.
- Pat the chicken tenders dry with paper towels to remove excess moisture.
- Dredge each chicken tender in the flour, shaking off excess.
- Dip the floured chicken tender into the buttermilk, allowing excess to drip off.
- Coat the chicken tender thoroughly with the seasoned panko breadcrumb mixture, pressing gently to adhere.
- Optional: For extra crispiness, repeat the buttermilk dip and breadcrumb coating once more.
- Lightly spray the air fryer basket with cooking oil spray to prevent sticking.
- Arrange the coated chicken tenders in a single layer in the air fryer basket, ensuring they do not touch.
- Lightly spray the tops of the tenders with cooking oil spray to promote browning.
- Cook for 6 minutes, then use tongs to flip the tenders and cook for an additional 6 minutes or until the internal temperature reaches 165°F (74°C) and the coating is golden brown and crispy.
- Remove from the air fryer and let rest for 2 minutes before serving.


One Comment