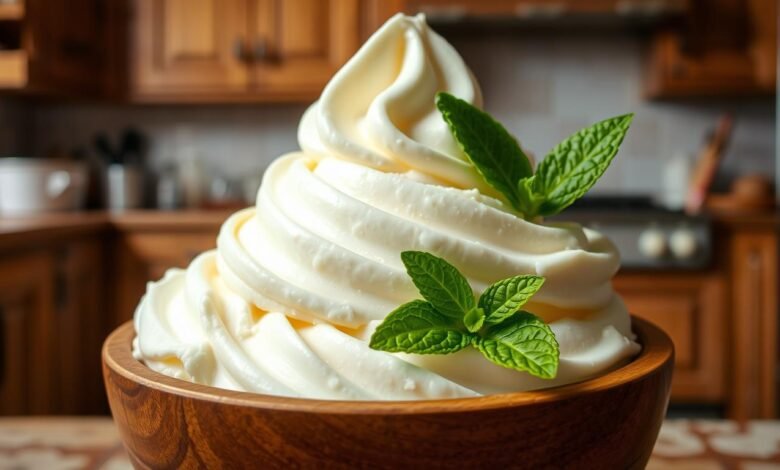
You might have scrolled past one clip and felt a tiny thrill—someone made a homemade treat that seemed too good to be true, then nailed it in minutes. That moment hooked me, and it probably hooked you too.
This post explains why the simple two‑ingredient base (cottage cheese + honey) blew up on TikTok. Creator Lainie Cooks helped spark the trend, and the version with peanut butter and chocolate chips stands out for taste and extra protein.
You’ll learn the quick method: blend until silky, pour back into the tub or a loaf pan, freeze about four hours, then let it sit 5–10 minutes before scooping. The peanut‑butter chocolate option can deliver roughly 22 grams of protein and about 284 calories per serving.
Brands people trust include Good Culture, Organic Valley, and Nancy’s. Note that this post may include affiliate links to help you find tools and tubs while supporting the site at no extra cost to you.
Key Takeaways
- You can make a high‑protein frozen dessert at home without an ice cream maker.
- The two‑ingredient base is cottage cheese plus honey; popular add‑ins are peanut butter and chocolate chips.
- Blend, freeze ~4 hours, then thaw 5–10 minutes for scoopable texture.
- The peanut‑butter chocolate version offers about 22 grams protein and ~284 calories per serving.
- Trusted brands like Good Culture, Organic Valley, and Nancy’s give consistent texture and flavor.
- This post may contain affiliate links to recommended ingredients and tools.
Why cottage cheese ice cream is going viral right now
Simple wins on social feeds. A two-ingredient dairy base blended with a liquid sweetener creates a silky, scoopable dessert in minutes of hands-on prep and about four hours of freeze time.
What you’ll learn in this recipe post
- How a low-effort method delivers a dessert that mimics traditional ice cream while packing notable grams protein per serving.
- Why the short prep time and modest hours of freezing make this an easy weeknight or last-minute treat.
- Which sweeteners—like honey—work best and how their sugar content compares with milk‑based frozen desserts.
- Equipment, exact ingredients, step‑by‑step blending, freezing and thawing, plus serving and storage guidance.
- How to tweak sweetness and swap mix‑ins—peanut butter, chocolate chips, or fruit—to change flavor and nutrition by the cup.
- Pro tips to reduce iciness and improve mouthfeel so your final scoop looks and tastes like the videos you’ve seen.
Many people prefer this method because it balances indulgence and better‑for‑you choices without an ice cream maker. You’ll also get practical information about prep minutes, freeze hours, and simple ingredient swaps to match your taste and macros.
What cottage cheese ice cream is and how it compares to traditional ice cream
This recipe swaps a churned custard for a high‑protein blended base. You get a lightly tangy, creamy mouthfeel that differs from pints made with heavy cream and egg yolks.
Texture and flavor differ most. Using full fat tubs gives a richer body and smoother scoop. Low‑fat or fat‑free tubs freeze firmer and taste icier, so they need stirring during the freeze hours to soften the result.
You also gain more protein per serving, which helps you feel satisfied compared with many store pints. Salt levels in some brands change perceived sweetness, so pick a tub that matches your taste.
- Blended base: more protein, simpler ingredients, no churn needed.
- Custard‑style: richer fat, more air, ultra‑smooth from churning.
- Workaround: stir while freezing to mimic aeration and improve texture.
| Feature | Blended cottage cheese base | Traditional custard | Churned cream made |
|---|---|---|---|
| Fat | Better with full fat | High (cream + yolks) | High (heavy cream) |
| Texture | Creamy if full fat; can be icy if lean | Silky and dense | Light and aerated |
| Protein | Higher per serving | Lower | Lower |
| Mouthfeel | Lightly tangy, sweetened with honey or vanilla | Rich and smooth | Velvety with air |
cottage cheese ice cream: the base recipe at a glance
This base comes together in minutes with just a tub, a sweetener, and a high‑speed blender.
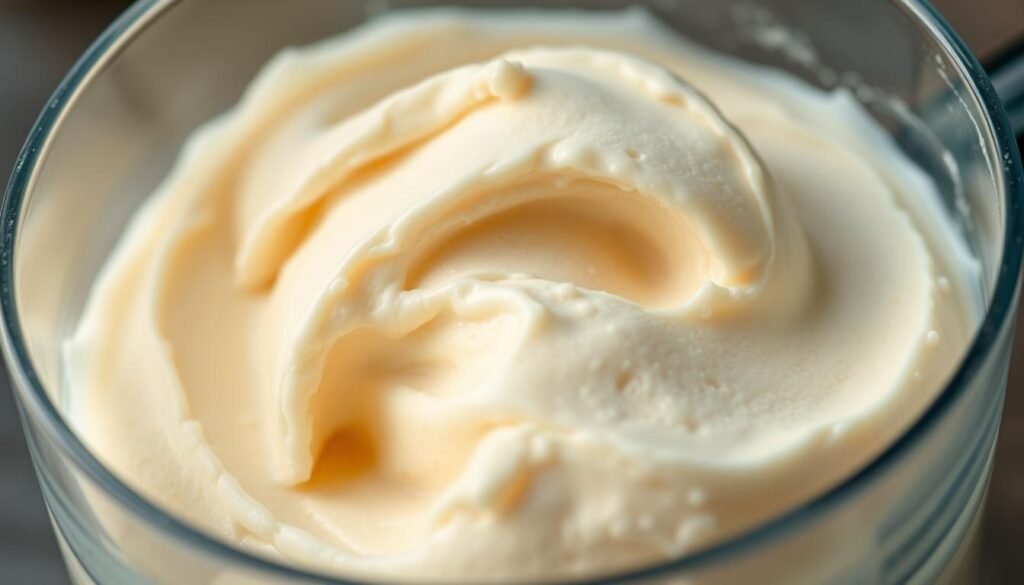
How it works: Blend full‑fat cottage cheese with honey until the mixture is totally smooth and no curds remain. A high‑powered blender or food processor does the heavy lifting in seconds, creating a silky base that freezes well.
Pour the mixture back into the original container or a loaf pan for tidy storage. Freeze for about four hours, then let it sit 5–10 minutes at room temperature so it scoops like your favorite pint.
Optional upgrades are simple. Add a splash of vanilla to round the tang, or fold in chocolate chips after blending to keep texture. Honey acts as the primary sweetener and helps the frozen mixture stay less icy than dry sugar.
- Blend until smooth — no curds.
- Use the tub or a loaf pan — easy cleanup.
- Freeze ~4 hours; thaw 5–10 minutes.
- Vanilla or chocolate chips for flavor.
Ingredients you need for a creamy, high‑protein base
Start with the right tub, a liquid sweetener, and a few mix‑ins for a smooth, scoopable result. Choose a full‑fat tub for the creamiest mouthfeel; low‑fat or fat‑free will work but can freeze firmer and slightly icier.
Full fat vs low fat for the best texture
Full fat tubs give superior richness and help the mixture feel like traditional pints. If you need a lower‑fat option, expect a firmer set and plan to thaw a bit longer before scooping.
Sweeteners: liquid choices that keep it smooth
Honey is the go‑to sweetener because it blends and freezes with less grittiness. Maple syrup or another liquid sweetener will also keep the base smooth and flexible.
Optional mix‑ins and flavor boosters
Fold in peanut butter for extra body or use nut/seed butter as an alternative. Add vanilla extract to round flavor and sprinkle chocolate chips after blending to preserve texture.
Recommended brands and container size
Use a standard 16‑ounce (about 2 cup) tub for a small batch. Brands that perform well include Good Culture (full‑fat recommended), Organic Valley, and Nancy’s. For a lower‑sodium choice, consider Friendship Dairies 1% no‑salt‑added small curd.
- Work from a 16 oz tub for quick freezing and easy portions.
- Pick full‑fat for mouthfeel; low‑fat if you prefer fewer calories.
- Sweeten with honey or maple for smooth texture.
- Mix in peanut butter or chocolate chips for flavor and structure.
Step-by-step: blend, freeze, and scoop
Follow a few clear steps and you’ll have a scoopable dessert in under a day. Start by adding the tub and honey to a high‑speed food processor or blender. Blend until the mixture is totally smooth and no curds remain.
Blend until smooth in a high-powered blender or food processor
You’ll blend longer than you expect. Pulse, then run the blender on high until the texture looks glossy and uniform. Stir in chocolate chips or a swirl of peanut butter after blending so chunks keep their texture.
Freeze in a loaf pan or the original container for about 4 hours
Transfer the silky base into a loaf pan or back into the sturdy original container. A flat, shallow pan freezes faster; a tall tub may need extra hours in the freezer. Leave a little headspace if you plan to stir mid‑freeze.
Thaw 5–10 minutes and scoop like ice cream
Let the tub sit at room temperature for 5–10 minutes before scooping. Run your scoop under warm water between passes to make clean, round servings without tearing the surface.
- Use a high‑powered blender for a truly smooth mixture.
- Fold in chunky add‑ins after blending to keep texture intact.
- Freeze roughly four hours; freezer temps and container depth affect time.
- Warm the scoop and let the tub rest for easier serving.
Equipment and tools that make the texture better
The right gadgets help you move from grainy blends to silky results. A small set of reliable tools makes big improvements to mouthfeel and serving.
Blender or food processor
You’ll rely on a high‑powered blender or a 9‑cup food processor to fully break down curds. This step is essential for a smooth, non‑grainy texture that mimics pints from the freezer.
Loaf pan or freezer-safe container with lid
Use a nonstick loaf pan for faster, even chilling. Shallow metal pans help the mix freeze more uniformly from edge to center.
Reusing the original tub is fine for compact storage, but a tight‑fitting lid or plastic wrap over the surface reduces crystals and preserves texture.

Ice cream scoop and a simple tip
Keep a sturdy scoop and run it under warm water between portions. Warming the scoop helps you glide through the set base without tearing or crumbling.
- A strong blender or roomy food processor yields the creamiest result.
- Choose a loaf pan for speed or the original lidded container for convenience.
- Cover the surface before sealing to limit ice crystals during storage in the freezer.
- Shallow pans chill evenly; airtight containers extend freshness and texture.
- No specialized churner required—simple gear works well in small kitchens.
Timing, yield, and nutrition information
This section gives clear timing and estimated nutrition so you can plan servings and macros.
You’ll spend about 5 minutes on active prep and roughly 4 hours freezing, for a total near 4 hours 5 minutes. Thicker containers or a full freezer can add extra time.
Yield and portion notes
The batch yields about 2–4 servings depending on your scoop size and cup portions. Use smaller cups for more servings or one large scoop for a treat.
Nutrition estimates
Typical numbers per cup‑style serving: ~169 calories, ~12 grams protein, and ~20 g sugar for the simple honey base.
The peanut‑butter plus chocolate version can run ~284 calories with ~22 g protein for about one‑third of the recipe.
| Item | Prep & freeze | Typical per serving |
|---|---|---|
| Simple base | 5 minutes + 4 hours | 169 kcal • 12 g protein • 20 g sugar |
| PB + chips | 5 minutes + 4 hours | ~284 kcal • 22 g protein |
- Ingredient choices shift sugar and calories—fruit or chocolate changes totals.
- Higher fat or nuts boost calories but improve creaminess and satiety.
- Treat nutrition as estimates; calculators vary by brand and ingredients.
Pro tips to prevent iciness and boost that ice cream mouthfeel
Small technique changes make a big difference in how the frozen mix feels on your spoon.
Choose higher fat tubs when possible. A full fat base disrupts ice crystals and yields a smoother mouthfeel. Using a higher‑fat cottage cheese gives a richer set that tastes less icy and more like a scoop from a pint.
Stir the mix during freezing to mimic churning. Open the freezer once an hour and quickly fold the set edges toward the center. This adds a little air and evens temperature zones so the final texture is creamier.
Small additions help too. A spoonful of peanut butter or a splash of vanilla boosts body without watering down the mixture. Avoid watery fruit juices or excess milk, which make crystals form faster.
- Pick full fat tubs to reduce iciness.
- Stir briefly every hour for 2–3 hours while freezing.
- Cover the surface with plastic wrap to limit crystals.
- Let the tub sit 5–10 minutes before scooping for softer center.
- Use shallow pans or small batches for more even freeze and easier stirring.
| Tip | Why it works | How to do it |
|---|---|---|
| Full fat base | Fat interferes with crystal formation | Choose full fat cottage cheese or add a tablespoon of cream |
| Hourly stirring | Mimics churn and adds air | Stir with a fork or spatula for 20–30 seconds each hour |
| Concentrated add‑ins | Add texture and body without thinning | Use peanut butter or vanilla extract; fold in solids after blending |
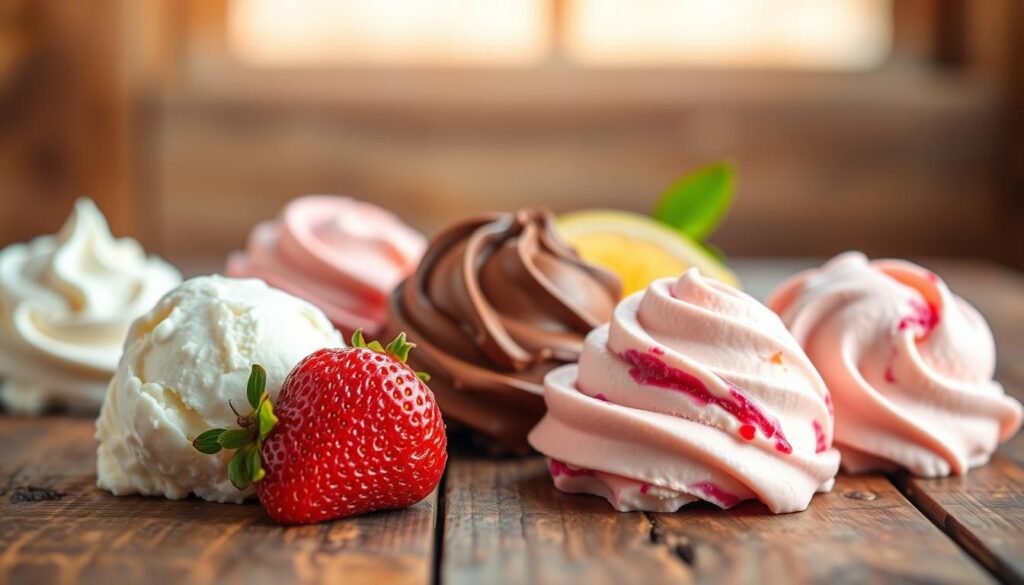
Flavor variations to try with your cottage cheese ice cream
A few pantry staples and fresh picks turn the blended base into distinct, scoopable flavors you’ll reach for again.
Chocolate and cacao nibs or chips
Stir in cocoa powder and toss in chocolate chips or cacao nibs for deep chocolate flavor and crunchy pockets of sweetness.
Fruity blends
Blend strawberries, blueberries, mango, peaches, or banana for bright, seasonal taste. Swirl in jam for concentrated bursts that hold through freezing.
Nutty crunch
Fold in chopped almonds, pecans, walnuts, or pistachios for texture and richness. Keep peanut add‑ins for peanut lovers, but balance salt and sweet so the dairy tang stays pleasant.

Spiced warmth
Add cinnamon, nutmeg, cardamom, or pumpkin spice to create a cozy profile that feels more complex than the simple ingredient list suggests.
Coffee or vanilla upgrades
Mix in a shot of espresso or instant coffee for a bold pick-me-up. Use vanilla bean paste or extract to lift and smooth flavors.
Strawberry cheesecake twist
Fold in berries and crushed graham cracker crumbs for aroma and crunch. For more ideas, check these cottage cheese ice cream recipes that show how mix‑ins hold up in the frozen mixture.
- Pulse fragile add‑ins briefly or fold by hand to keep contrast in every bite.
- Adjust sweetener and salt to balance tang and flavor intensity.
Serving ideas, toppings, and fun ways to eat it
Serve your frozen blend in ways that turn a simple scoop into a showstopper. A few easy tricks make the texture and flavor shine, whether you feed a crowd or enjoy a solo cup.
Classic scoops in a bowl or cone
Let the surface soften slightly so scoops look smooth and hold shape. Run your scoop under warm water between portions for clean, round servings that resemble a traditional ice cream pint.
Parfaits and layered treats
Layer spoonfuls with yogurt or a cloud of whipped vanilla for contrast. Add fruit and granola between layers to balance tang and texture. Serve in a clear cup to show the colorful layers.
Sandwiches, waffles, and toppings
Press portions between cookies or waffles for a handheld dessert that pairs crisp edges with a soft center. Finish with chopped nuts, a drizzle of chocolate or honey, or a sprinkle of granola for crunch.
- Scoop into chilled bowls to slow melting in warm kitchens.
- Portion using a warm scoop and wipe between passes for bakery-ready rounds.
- Keep a small cup of warm water nearby to rewarm your scoop quickly during service.
Storage, containers, and thawing for the best texture
Store and seal your batch with purpose so the texture you achieved at the blender carries through the freezer. A tight plan matters more than an extra ingredient.
Initial freeze and longer-term storage
Freeze the base for about four hours so the set firms evenly before you serve. That initial chill helps avoid large ice crystals later.
For longer storage, transfer the frozen mix into a freezer-safe container and seal it airtight. Kept this way, quality holds for up to 1–2 months, though flavor peaks sooner.
Best-use window and thawing guidance
You’ll get the best flavor and texture within one week of freezing. After that, mouthfeel slowly declines but it is still safe to eat for the month or two noted above.
Before scooping, let the tub rest 5–10 minutes at room temperature. A short thaw softens the center so portions release cleanly and taste creamier right away.
Simple tricks to reduce crystals and preserve freshness
- Press plastic wrap directly on the surface before sealing the container to limit ice formation.
- Choose containers that lock in air and block freezer odors—tight lids matter.
- Label the lid with the freeze date so you track freshness and rotate flavors.
- Avoid repeated long thaws and refreezes; they encourage crystals and ruin smoothness.
| Step | Why it helps | Timing |
|---|---|---|
| Initial freeze | Sets texture uniformly | ~4 hours |
| Surface wrap | Limits ice crystal growth | Before sealing |
| Short thaw | Makes scooping easy | 5–10 minutes |
Conclusion
Conclusion
End on a practical note. Blend a tub of full‑fat cottage with honey, freeze about four hours, then let it sit a few minutes before scooping. Stir once or twice while freezing to mimic churn and improve mouthfeel.
You’ve seen how simple recipes deliver satisfying grams protein and how mix‑ins create tasty variations. Store the batch airtight with plastic pressed to the surface; quality is best within a week, though it keeps 1–2 months if sealed well.
Bookmark this post and try the riffs. This post may include affiliate links that support testing more flavors at no extra cost to you.