You might think that seasoning your cast iron is a pain, but do you remember the first time you tried to cook eggs in a pan that wasn’t seasoned? The smell of smoke in the kitchen, the annoyance of scraping off food that had stuck to the pan, and the fleeting thought, “Maybe I should just buy a nonstick pan instead.”
What if I told you that with the right spices, that same heavy cookware could become your best friend in the kitchen? It would be smoother than modern coatings and last longer than you.
Seasoning your cast iron is the secret to making a naturally nonstick, heirloom-quality tool that gets better every time you use it. It’s not just a chore.
That dark, glossy finish you see on well-loved skillets isn’t magic. It’s science. When oil bonds with metal through heat, it creates a natural nonstick surface that improves every time you cook. Lodge Cast Iron has perfected this method since 2002, using plant-based oils to create heirloom pieces.
Many home cooks avoid these pans, fearing complicated upkeep.But here’s the truth: taking care of your pots and pans is easier than seasoning a steak. 1. You’ll learn how polymerization, the chemical process that makes that smooth layer, turns simple kitchen tools into investments that last for generations. .
This guide clears up any confusion and shows you how to make (and keep) that black patina that everyone wants. Whether you’re reviving a rusty find or caring for a new skillet, these steps ensure your pan becomes better with age—just like your cooking skills.
Understanding Seasoning Your Cast-Iron Cookware
That slick cooking surface doesn’t appear by accident. It forms through fat polymerization – a kitchen chemistry trick where heat transforms oils into protective armor. When temperatures hit 400°F+, liquid fats undergo molecular changes, bonding permanently with metal pores.
The Science Behind Fat Polymerization
Imagine oil molecules linking arms under intense heat. This creates chains called polymers that fill microscopic gaps in metal. Unlike temporary coatings, these bonds won’t wash off. Flaxseed and grapeseed oils work best due to high smoke points and dense molecular structures.
How Nonstick Properties Develop
Each cooking session adds new protective layers. The initial coating acts like primer, while subsequent uses build a glass-like finish. You might be surprised to learn acidic foods temporarily soften this surface – but proper care restores it through natural re-bonding.
This living finish outlasts synthetic alternatives because it self-repairs. While Teflon pans degrade, polymerized layers grow stronger with regular use. Just avoid abrasive scrubs, and your cookware becomes more reliable over decades.
Preparing Cast-Iron Cookware for Proper Seasoning
The foundation of a flawless cooking surface starts before the oil even touches the metal. Proper preparation removes invisible barriers like factory residues, creating the ideal canvas for polymerized layers to form.
Cleaning and Drying Techniques
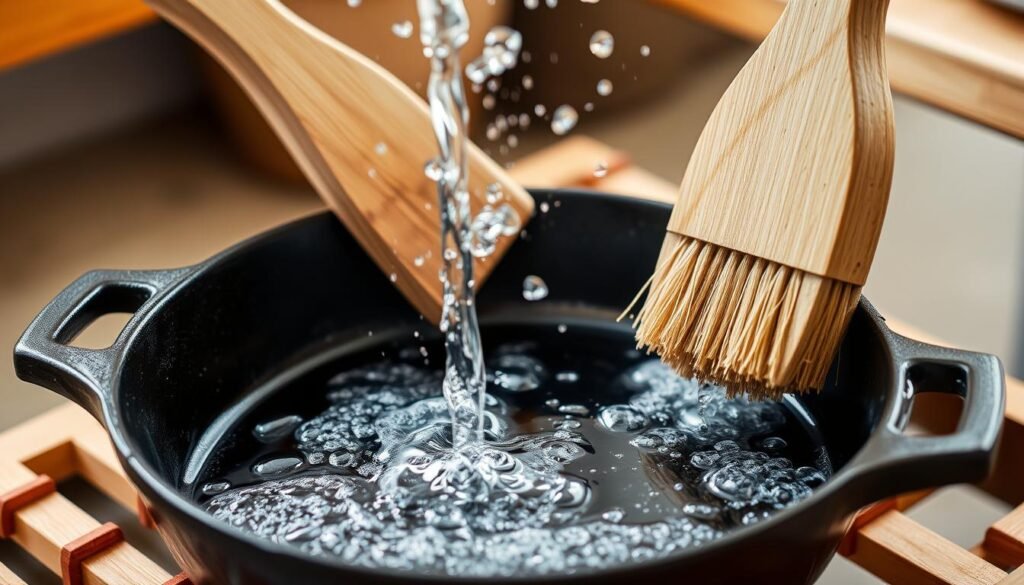
Begin by scrubbing every inch of the skillet with hot, soapy water. Use a blue Scotch-Brite pad—its non-scratch texture lifts debris without gouging the metal. This step strips away protective waxes applied during manufacturing that hinder oil bonding.
Rinse thoroughly, then act fast. Water is the enemy here. Place the wet pan directly on a medium-heat burner. Watch steam rise as the iron warms, signaling evaporation. Wait until the surface feels hot to the touch—about 3-5 minutes. Any lingering dampness will create sticky patches during seasoning.
Never air-dry or use a regular towel. Stovetop heating ensures complete dryness while killing bacteria. If spots appear chalky-white after drying, rewash—mineral deposits from hard water can weaken your seasoning’s grip.
Grab a paper towel for one final inspection. Swipe it across cooled metal—no moisture or residue should transfer. This meticulous process might feel tedious, but it’s the difference between a patchy coat and glass-smooth perfection.
Seasoning Your Cast‑Iron
Not all fats perform equally when creating a durable cooking surface. The right choice determines how well polymers bond with metal, while proper heat application seals the deal.
Selecting the Best Oils and Fats
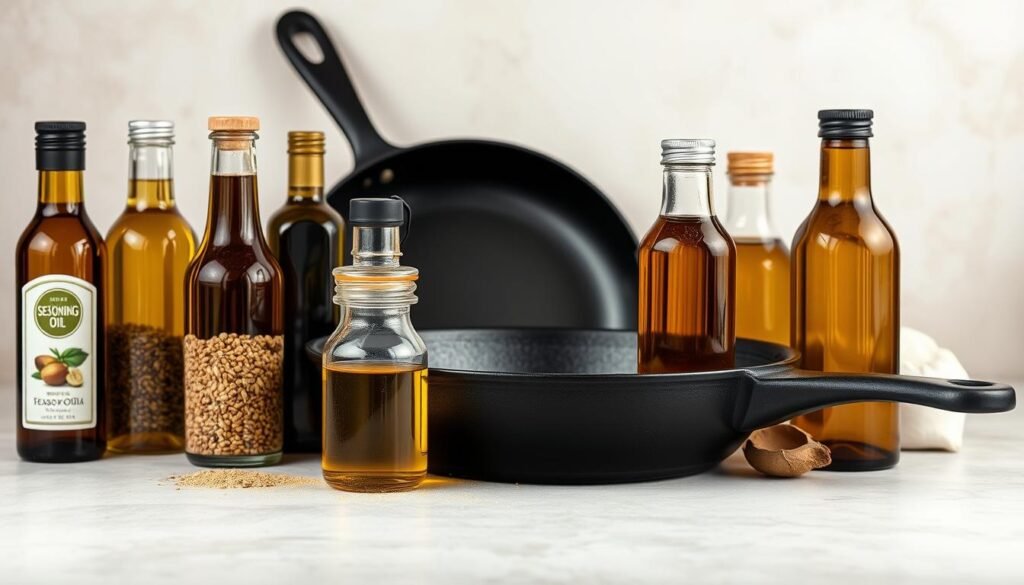
Vegetable oil and canola lead most recommendations for good reason. Their high smoke points (400°F+) withstand oven cycles without breaking down. Lodge specifically endorses these for affordability and reliable polymerization.
Flaxseed oil creates a glass-like finish but demands caution. Its intense odor during heating requires open windows or exhaust fans. Professionals often prefer Crisco shortening—it melts evenly and leaves no sticky residue behind.
Setting Up Your Oven and Workspace
Always preheat oven to 450°F before starting. Position aluminum foil on the bottom rack to catch drips—this prevents smoke and messy cleanup. Keep lint-free cloths nearby for oil application.
Organize your station: oil bottle, gloves, and skillet within reach. Ensure ventilation by cracking a window or using the stove hood. Three heat-resistant surfaces matter—the oven rack, counter protector, and cooling area.
Step‑by‑Step Guide to Achieve the Perfect Finish
Precision transforms good cookware into exceptional tools. Follow this battle-tested method to create a mirror-smooth cooking surface that laughs at scrambled eggs and slides pancakes like Olympic athletes.
Preheating and Initial Skillet Setup
Start by heating your oven to 200°F. Place the skillet upside down on the middle rack—this positioning prevents oil pooling. Let the metal warm for 20 minutes. The gentle heat opens microscopic pores, preparing the surface for optimal oil absorption.
Applying and Wiping Oil Layers
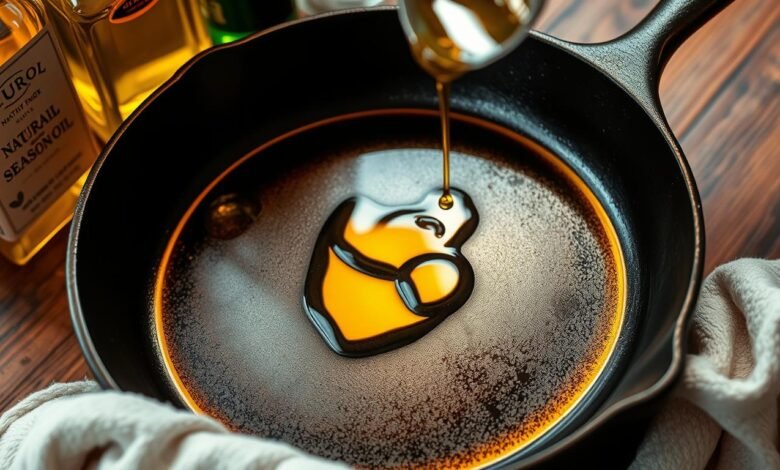
Remove the skillet using oven mitts. Rub Crisco shortening over every inch—handle, exterior, and cooking surface. Grab two lint-free paper towels. Wipe vigorously as if trying to remove all traces of oil. Residual fat should barely tint the metal.
Heat Cycles and Cooling Process
Return the skillet to the oven upside down. Ramp heat to 300°F for 15 minutes. Pull it out again—you’ll spot shiny areas where oil collected. Wipe once more with fresh towels. Crank the oven to 400°F and bake for two hours. Let it cool completely inside the turned-off oven—rushing this step risks warping.
Repeat this ritual 1-2 times. Each cycle builds a tougher, darker protective layer. For heavier use, some chefs swear by 450°F cycles. Either method works—consistency matters more than exact temperatures.
Troubleshooting Common Seasoning Issues
Even seasoned cooks encounter hiccups when building that perfect cooking surface. Don’t panic—most issues stem from two culprits: too much oil or uneven heat distribution. Let’s break down how to spot and solve these common frustrations.
Fixing Tacky or Patchy Layers
A sticky finish screams excess oil. If your pan feels tacky after cooling, reheat it immediately. Crank the oven to 500°F for 30 minutes—this completes the polymerization process. For stubborn spots, gently scrub with steel wool while warm.
Antique pieces need special care. Their smooth surfaces reject oil layers initially. Apply thinner coats and bake at 450°F for 90 minutes. Repeat 3-4 times until the glossy patina sticks.
Controlling Unwanted Oil Buildup
Pooled residue forms when oil isn’t wiped thoroughly. Use this trick: after applying oil, pretend you’ve made a mistake and try to remove it all. The invisible film left behind is perfect.
Caught a drip mid-bake? Open the oven quickly and wipe with a heat-resistant cloth. Always check for shiny patches during the first 20 minutes of heating—these indicate areas needing attention.
Improving and Maintaining Your Seasoned Skillet
Maintaining that glass-smooth surface requires less effort than you might think. The secret lies in your daily cooking habits and simple post-meal routines that take minutes to complete.
Smart Cleaning Practices
After cooking, rinse the skillet under hot water while it’s still warm. Use a bamboo brush or soft sponge to remove food bits—no soap needed. For stuck-on residue, sprinkle coarse salt and scrub gently. This method preserves the protective layers while eliminating debris.
Dry the metal immediately on a stovetop burner. Medium heat evaporates moisture in 2-3 minutes, preventing rust. Watch for steam stops before removing from heat. A single drop of water left overnight can create orange spots.
Oil Application Made Simple
Once cooled slightly, rub a dime-sized oil drop into the surface. Grape seed or avocado oils work well—their high smoke points prevent gumminess. Wipe vigorously with paper towels until the metal appears dry. This leaves a microscopic layer that bonds during next use.
Heat the skillet until wisps of smoke appear. This step polymerizes the oil, reinforcing the nonstick properties. Let it cool naturally before storing—no lids or airtight spaces that trap humidity.
Avoid tomato sauces and citrus dishes in new pans. Their acidity breaks down fresh layers faster. If cooking acidic foods, apply a quick oil coat afterward. High-heat searing? Lower the temperature slightly and use more fat to protect the surface.
Why Seasoning Your Cast-Iron Is Worth It
That trusty kitchen workhorse now holds more than meals—it carries legacy potential. Proper care transforms basic cookware into heirloom pieces that withstand decades of sizzling steaks and golden cornbread. You’ve unlocked the science behind creating self-repairing surfaces through controlled heat and smart oil choices.
Maintenance becomes effortless once you embrace the rhythm. Quick wipes after use, occasional re-seasoning cycles, and avoiding harsh scrubs keep your skillet performing like new. Remember: those glossy layers improve through regular cooking, making every meal a step toward perfection.
Sticky spots or dull patches? Your troubleshooting skills now outpace most home chefs. With this knowledge, you’re equipped to restore any piece—whether flea-market finds or modern purchases. The true magic lies in how these durable tools evolve alongside your culinary journey.
Grab that handle with confidence. From campfire cooking to gourmet searing, your prepared surface delivers consistent results no synthetic coating can match. Here’s to countless meals and the satisfaction of mastering a timeless kitchen craft.
