Kitchen Tips — Remember the first time you felt the sizzle of a pan, the aroma of fresh herbs, or the pride of a perfectly balanced meal? That spark of joy is what transforms routine meals into moments worth savoring. Whether you’re a weekend warrior or a weekday meal prepper, your culinary journey deserves tools that turn stress into success.
Over five decades of honing skills in the heart of the home have revealed a truth: great dishes aren’t just about recipes. They’re born from understanding how heat dances with ingredients, why timing matters more than measuring cups, and when to trust your instincts over strict instructions. This isn’t about rigid rules — it’s about embracing the rhythm of flavors.
You’ll find secrets here that bridge science and spontaneity. Learn why professional chefs taste as they go, how to layer textures for maximum impact, and which small adjustments elevate basic dishes. These methods aren’t shortcuts—they’re foundations for building meals that reflect your unique style.
Think of this as your backstage pass to techniques refined through years of trial, error, and triumph. From managing heat levels to mastering flavor balance, every insight serves one purpose: helping you create with more joy and less guesswork. Let’s turn that apron into a canvas—your kitchen adventures start now.
Introduction to Essential Kitchen Tips
Imagine transforming chaotic meal prep into smooth culinary flow. Through years of trial and error, time-saving strategies emerge that make cooking feel less like work and more like creative play. The secret lies in building smart habits that cut waste and boost efficiency.
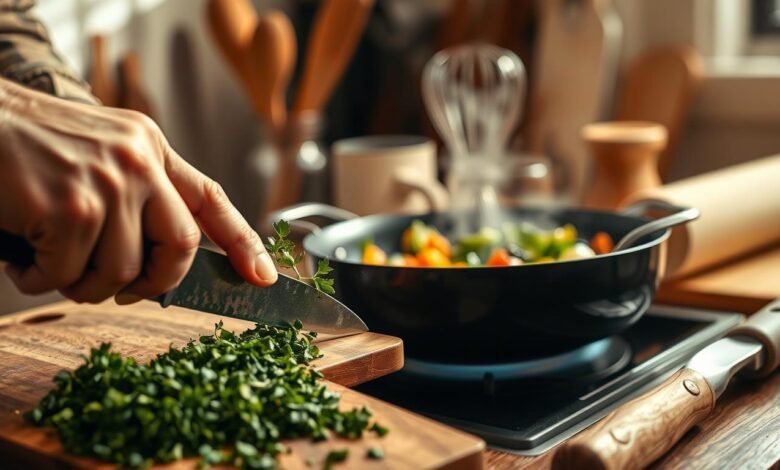
Start by viewing your space as a workshop. Organizing ingredients before heating pans ensures you’re never scrambling mid-recipe. This approach—often called mise en place—helps you spot missing items early and reduces last-minute grocery runs.
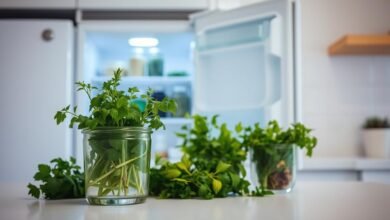
Small shifts create big results. Storing herbs stem-down in water glasses keeps them fresh for days. Freezing leftover wine in ice cube trays gives instant flavor boosts for sauces. These simple tweaks turn potential waste into kitchen gold.
Confidence grows when you master fundamentals. Sharp knives make chopping safer, while proper pan temperatures prevent burnt garlic or soggy veggies. Each skill builds toward meals that reflect your personal style without strict recipes.
Remember: great cooking isn’t about perfection. It’s about creating systems that let your creativity shine. As you refine these techniques, you’ll spend less time prepping and more time savoring.
Getting Organized in the Kitchen Tips
Ever watched a chef glide through a recipe without pause? Their secret starts before the stove even heats up. Organization turns chaotic cooking into a rhythmic dance where every move feels intentional.
Mise en Place: The Foundation of Cooking
This French phrase means “everything in its place”—and it’s the backbone of stress-free meal creation. Chop veggies, measure spices, and line up tools before turning on burners. You’ll spot missing ingredients early and avoid burning sauces while hunting for that garlic press.
Professional kitchens use this method because it lets cooks focus on timing and technique. At home, it transforms rushed dinners into smooth experiences. Try grouping prepped items in small bowls—you’ll feel like a TV chef without the camera pressure.
Reading Recipes Thoroughly Before Starting
Skimming instructions leads to mid-recipe surprises. Instead, read through all steps twice. Notice when you’ll need that blender or baking sheet. Does the dish require marinating before cooking? Mark those details with a pencil.
This habit prevents frantic substitutions when you’re halfway through sautéing onions. You’ll also learn the recipe’s rhythm—like when to multitask boiling pasta and simmering sauce. That upfront time investment pays off in perfectly timed meals every time.
Sanitizing and Safety Measures for Home Cooks
Your cutting board isn’t just a surface—it’s the frontline defense against invisible threats. Proper sanitization stops harmful bacteria from turning fresh ingredients into health risks. Let’s explore methods that protect both your meals and your well-being.
Effective Sanitized Water Techniques
After handling raw proteins like chicken or fish, immediate cleaning matters most. Mix 1 tablespoon of bleach with 1 gallon of water for a CDC-approved solution that neutralizes dangerous pathogens. For fruits and veggies, combine 1 part white vinegar with 4 parts water—this acidic mix removes residue without harsh chemicals.
Why two solutions? Bleach breaks down proteins’ stubborn bacteria, while vinegar tackles surface microbes on produce. Always rinse boards thoroughly after treatment to avoid altering flavors. Pro tip: Designate separate boards for meats and vegetables to simplify your routine.
| Solution | Ratio | Best For | Safety Notes |
|---|---|---|---|
| Bleach + Water | 1 tbsp : 1 gallon | Raw meats, poultry, fish | Rinse after 2 minutes |
| Vinegar + Water | 1 : 4 parts | Fruits, vegetables, herbs | No rinsing needed |
Consistency turns safety into habit. Wipe counters with your chosen solution while cooking—especially after handling eggs or unwashed produce. The FDA confirms that these food safety protocols reduce cross-contamination risks by up to 90% in home environments.
Remember: clean tools impact taste too. Residual garlic or onion odors can transfer to delicate foods. A quick sanitizing wipe preserves your next dish’s flavor profile while keeping your space guest-ready.
Essential Cutting Board Advice
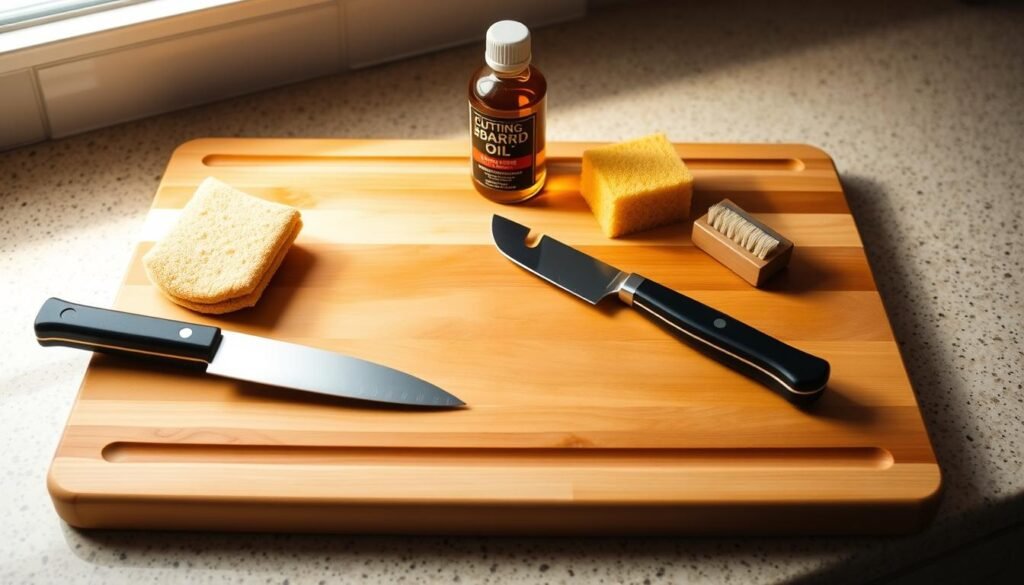
The right cutting surface can transform chopping from chore to craft. Your board’s size, texture, and stability directly impact both safety and creativity during meal prep. Let’s explore how to maximize this essential tool’s potential.
Choosing the Right Cutting Board
Go big or go home. A 18×24-inch board gives space to chop veggies while keeping prepped ingredients organized. Look for one with juice grooves on one side only—use that edge for carving meats to contain drips. The flat side stays smoother for precise knife work on herbs and garlic.
Material matters. Hardwood resists deep grooves where bacteria hide. Plastic boards handle raw proteins better but need frequent replacement. Avoid glass—it dulls blades faster than a week of meal prep.
How to Stabilize and Maintain Your Board
Sliding boards cause more sliced fingers than dull knives. Place a grippy shelf liner underneath instead of damp towels. The rubbery texture locks your surface in place without trapping moisture that breeds germs.
Monthly maintenance keeps boards fresh. Rub food-grade mineral oil into the wood until it stops absorbing—this seals pores against odor and bacteria. For plastic, soak in equal parts water and vinegar weekly to disinfect without harsh chemicals.
After washing, stand boards upright to air-dry completely. Trapped moisture warps wood and creates hidden mold pockets. With proper care, your cutting surface becomes a lifelong partner in cooking adventures.
Effective Cleaning as You Go
What if your cooking sessions felt more like flowing creativity than frantic scrambles? A clean workspace isn’t just about wiping counters—it’s your secret weapon for staying in the zone. When you tidy while you work, you maintain momentum instead of facing a mountain of dishes later.
Start simple: rinse mixing bowls immediately after use. This prevents sticky residues that demand elbow grease later. Keep a damp cloth nearby to wipe spills before they harden. You’ll spend less time scrubbing and more enjoying your meal.
Here’s why it works. Dried-on food particles require three times longer to clean than fresh ones. By addressing messes quickly, you protect surfaces and preserve your energy. Plus, you’ll avoid cross-contamination risks—a crucial step for safe cooking.
Try this rhythm: clean one tool while something simmers or bakes. Fold laundry during oven preheating? No—use those minutes to reset your space. This way of working becomes second nature, like stirring a sauce without thinking.
Your kitchen stays guest-ready, and your mind stays sharp. No more hunting for knives under dirty plates mid-recipe. With every swipe of the counter, you’re building habits that make cooking feel effortless—not exhausting.
Mastering Heat and Temperature Control
Ever wondered why some dishes come out perfectly while others burn? The answer often lies in managing your heat source like a pro. Temperature control separates rushed meals from those with balanced textures and deep flavors.
Why Medium Heat Wins
That dial between high and low isn’t just a compromise—it’s your secret weapon. Medium heat gives oils time to distribute evenly across the pan, preventing hot spots that scorch garlic or undercook onions. Most sautéing and simmering happens here once your surface is properly preheated.
For searing meats, wait until droplets of water sizzle instantly on the pan. At 365°F (185°C), proteins develop golden crusts while staying juicy inside. This “ready when it’s ready” approach beats guessing games with erratic flames.
Cold Start Magic
Some ingredients thrive when heated gently from the start. Place bacon in a cold pan with a thin oil coating. As the temperature rises slowly, fat renders evenly without splattering. Try this for softening onions too—they’ll caramelize naturally instead of burning at the edges.
Gradual heating preserves delicate textures in foods like mushrooms or leafy greens. You’re not just avoiding burnt bits; you’re coaxing out hidden sweetness. Next time a recipe says “sweat the vegetables,” reach for this method first.
The Art of Flavor Building with Onions and Acids
What if one humble vegetable held the key to unlocking deep, complex flavors in your dishes? Onions work culinary magic when given proper attention, transforming basic meals through caramelization and strategic pairing. Their natural sugars bloom under heat, creating foundations for sauces, soups, and sautés that taste like they simmered all day.
Mastering the Sweetness Factor
Start most savory recipes by slicing onions thin. Heat your pan over medium-low with a fat coating—this gentle approach lets them soften without burning. Stir every 2 minutes as they transition from sharp to golden. Patience here pays in layers of flavor that store-bought stocks can’t match.
When recipes include bacon or pancetta, render their fats first. Crisp the meat, remove it, then cook onions in the rich drippings. This sequence infuses every bite with smoky depth while keeping textures balanced.
| Fat Source | Cooking Time | Flavor Boost |
|---|---|---|
| Bacon Drippings | 8-10 mins | Smoky & Savory |
| Pancetta Fat | 6-8 mins | Nutty & Rich |
| Olive Oil | 12-15 mins | Earthy & Sweet |
Speed up browning by covering the pan briefly. Trapped steam softens onions faster, but lift the lid every 90 seconds to stir. This method cuts cooking time by a third while preventing burnt edges.
Acids like vinegar or lemon juice added near the end brighten the sweetness. A splash deglazes the pan, scraping up flavorful bits for sauces that make simple dishes sing. Remember: great flavor building isn’t rushed—it’s orchestrated.
Butter Choices: Clarified vs. Whole Butter
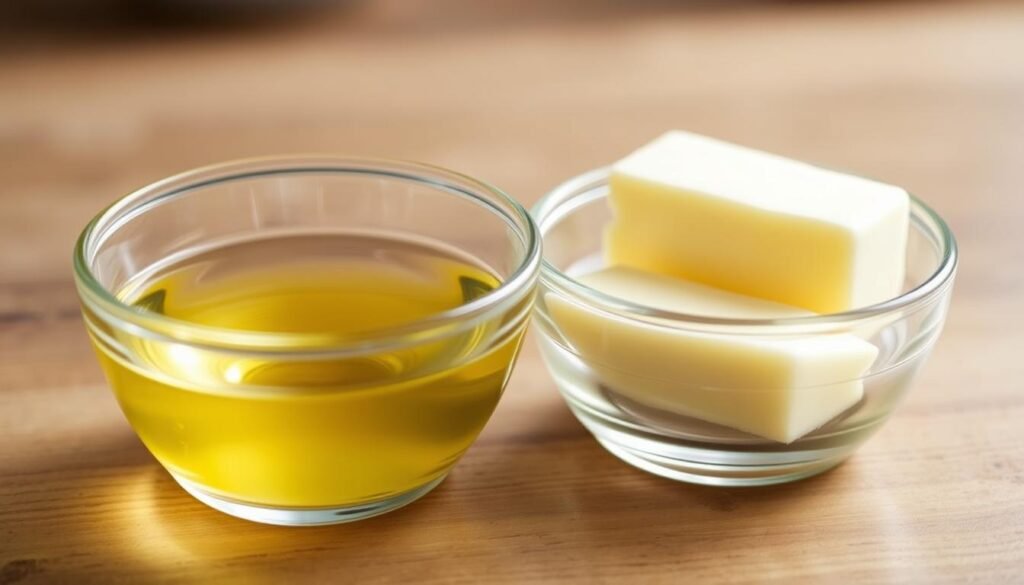
Ever pulled a dish from the pan only to find uneven browning or bitter notes? Your butter choice could be the game-changer. These two varieties serve distinct roles in cooking—master their uses, and you’ll elevate every meal.
Clarified butter (ghee) becomes your high-heat hero. Removing milk solids through gentle heating creates a pure golden oil that won’t burn at 485°F. Perfect for:
- Searing steaks with crisp crusts
- Stir-frying vegetables quickly
- Roasting potatoes to golden perfection
Whole butter thrives where richness matters. Its milk proteins emulsify sauces into silky textures and help baked goods rise. Cookies get their tender crumb, while béarnaise sauce gains luxurious body.
| Type | Smoke Point | Best Uses |
|---|---|---|
| Clarified | 485°F | Frying, sautéing, roasting |
| Whole | 350°F | Sauces, baking, finishing |
Make clarified butter by simmering unsalted sticks until foam rises. Strain through cheesecloth—you’ll get clear oil that stores for months. For finishing dishes, whisk cold whole butter into pan sauces off-heat. The result? Restaurant-worthy depth in everyday meals.
Enhancing Dishes with Cooking Wine
A splash of the right wine can turn simple ingredients into extraordinary dishes. The golden rule? If you wouldn’t sip it from a glass, don’t pour it into your cooking. Cheap wine amplifies harsh flavors, while quality bottles add nuanced depth.
Start by reducing regular wine by half. Simmer it until the alcohol evaporates and flavors concentrate. This step transforms acidic notes into rich undertones for sauces or stews. For quick pan sauces, deglaze with a splash to lift browned bits (fond) into velvety textures.
Fortified wine plays by different rules. Port and Marsala pack intense sweetness from added spirits. Stir them in during the last 5 minutes of cooking—their complex profiles shine without reduction. A tablespoon elevates gravies or glazes instantly.
| Type | Alcohol Content | Best Use | When to Add |
|---|---|---|---|
| Regular Red/White | 12-14% | Sauces, braises | Early stages |
| Port/Marsala | 18-20% | Glazes, finishes | Final minutes |
Balance is key. Taste as you go—dishes should hint at wine, not drown in it. Pair bold reds with hearty meats, crisp whites with seafood. Keep an open bottle in the fridge for up to 5 days. Freeze leftovers in cubes for future cooking projects.
Remember: time cooks the alcohol out, but the flavor stays. With these techniques, your next bottle becomes more than a drink—it’s your secret ingredient for restaurant-worthy meals.
Perfecting Vegetable Preparation and Poaching
Have you ever wondered why restaurant veggies look so vibrant yet stay crisp? The secret lies in mastering two water techniques—blanching and shocking. Submerge green beans or broccoli in boiling water for 90 seconds, then plunge them into ice water. This stops the cooking process instantly, locking in color and nutrients.
Uniform cuts make all the difference. Whether roasting carrots or sautéing zucchini, pieces of equal size cook evenly. No more burnt edges with raw centers! Use a mandoline for thin slices or practice your knife skills—consistency turns simple vegetables into eye-catching dishes.
Peeling isn’t just about aesthetics. Removing potato skins eliminates bitter compounds, while scraping asparagus stems ensures tender bites. For root vegetables, a quick blanch before peeling makes skins slide off like silk.
- Blanching preserves vitamins better than steaming
- Ice water stops overcooking while enhancing crunch
- Thicker peels work for rustic soups, thinner for delicate sides
Time your prep wisely. Blanched veggies stay fridge-ready for three days—perfect for quick stir-fries or salads. With these methods, you’ll transform everyday produce into plates that wow both eyes and taste buds.
Precision in Ingredient Measurement
Have you ever ruined a cake by eyeballing the flour? That moment when precision matters most separates kitchen disasters from triumphs. While strict measurements rule in baking, savory dishes often thrive on intuition—it’s about knowing which battles require scales versus taste buds.
When to Measure Precisely vs. Estimating by Eye
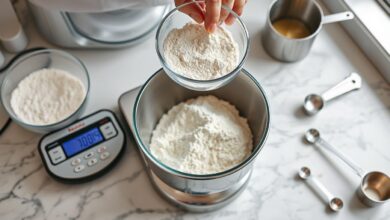
In baking, think like a chemist. Too much flour makes cookies dense; too little leaves cakes sunken. Use a measuring cup for dry ingredients, leveling with a knife for accuracy. For liquids, glass cups with spouts prevent spills. Recipes for breads or pastries demand this exactness—their chemistry depends on perfect ratios.
Now flip the script for soups or stir-fries. Taste as you add spices or herbs. Your recipe becomes a flexible guide rather than a rulebook. Adjust garlic by the clove, not the teaspoon. This freedom turns cooking into personal expression.
| Scenario | Tool | Margin for Error |
|---|---|---|
| Baking Bread | Digital Scale | ±2 grams |
| Making Soup | Tasting Spoon | Adjust freely |
| Cookie Dough | Measuring Cups | Leveled edges |
Notice how baking tools focus on numbers, while cooking gear prioritizes sensory feedback. Keep both approaches in your arsenal. With practice, you’ll grab the measuring cup for flour instinctively—and confidently tweak recipes when the moment calls for creativity.
Achieving the Maillard Reaction for Rich Flavors
That golden crust on your steak or deep aroma from toasted bread? That’s science working its magic. The Maillard reaction transforms proteins and sugars in food through controlled heat, creating complex flavors you can’t replicate with shortcuts.
Start by giving ingredients space to breathe. Overcrowding your pan traps steam, leading to soggy results instead of crispy edges. Work in batches if needed—patience here builds layers of taste that elevate simple dishes.
Heat management matters most. Medium-high settings (375-400°F) trigger browning without burning. Pat meats dry before cooking to remove excess moisture. This lets the reaction work its full potential, turning ordinary ingredients into memorable meals.
Apply this technique beyond proteins. Roasted veggies develop caramelized sweetness when spaced evenly on baking sheets. Even grilled cheeses gain depth when butter meets the pan at just the right temperature.
Mastering this reaction isn’t about fancy tools—it’s understanding how heat interacts with food. With these principles, you’ll turn everyday cooking into an art form where every sear and sizzle tells a flavorful story.
