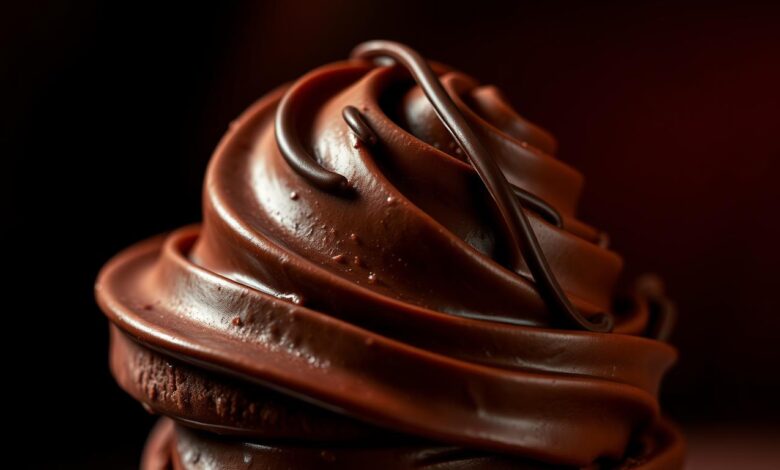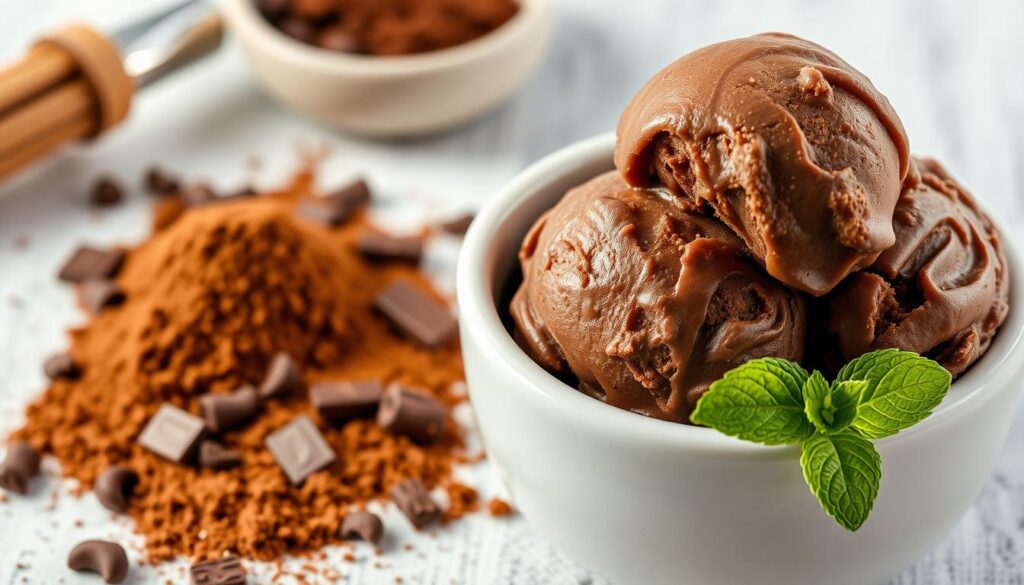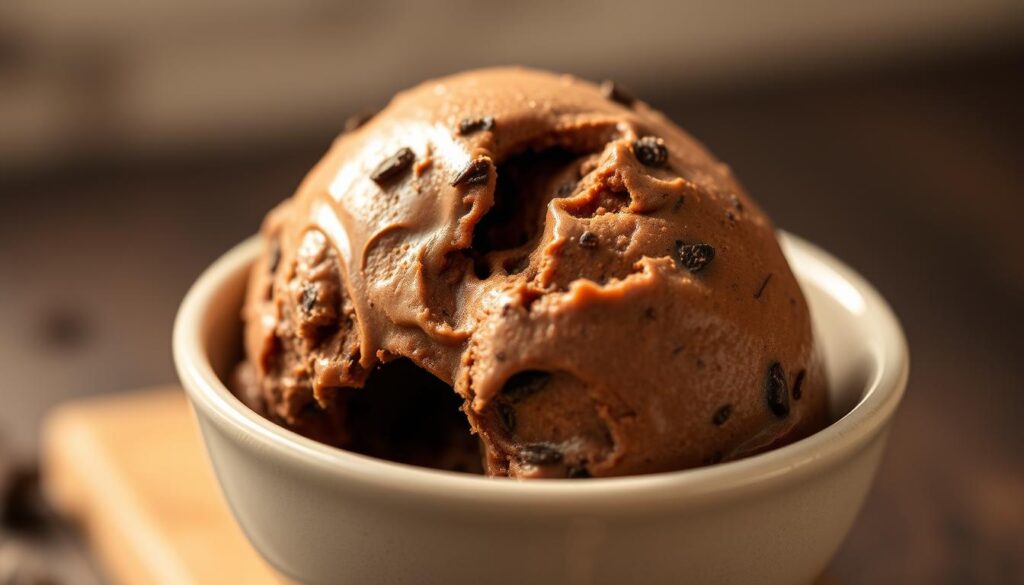
You remember the first time a spoonful stopped you in your tracks — that warm, calm pause when flavor feels like a small celebration. Making a rich, ultra-creamy homemade chocolate ice cream can recreate that moment at home.
With just seven core ingredients and two forms of chocolate, you can get a silky texture that beats store-bought. You’ll simmer whole milk and heavy cream with cocoa powder, then fold in chopped dark chocolate off heat to avoid graininess.
Prep matters: freeze your ice cream maker bowl at least 12 hours, chill the base for 2 hours or overnight, then churn 20–40 minutes. A short 2–6 hour final freeze gives a scoopable texture everyone loves.
Key Takeaways
- You can make a deep, homemade chocolate ice cream with simple steps.
- Use cocoa whisked into hot cream and chopped dark chocolate off heat for smooth texture.
- Freeze the maker bowl 12+ hours and chill the base before churning.
- Churn 20–40 minutes; final freeze 2–6 hours for scoopable results.
- Store in airtight containers for 1–2 months for best texture.
Why You’ll Love This Chocolate Ice Cream
You’ll love how deep, nuanced chocolate notes surface from a simple, two-chocolate method.
Two types of chocolate—Dutch-process cocoa whisked into hot dairy and chopped 70–85% dark bars folded in off heat—layer flavor and texture. This gives a bold, balanced profile without excess sweetness.
You can choose an egg-free Philadelphia-style base for a pure, direct chocolate taste. Or you can pick a custard base and temper yolks to 170°F for an ultra-silky body.
Whole milk helps the mixture stay tender and less icy than low-fat options. Plan ahead: freeze the maker bowl at least 12 hours and chill the base thoroughly for the best scoopable finish.
- Simple pantry ingredients make this an easy make at home.
- Versatile results: serve right from the churn for soft texture or after a short freeze for neat scoops.
- Reliable method: whisk cocoa into hot milk and cream, then stir in chopped dark chocolate off heat to avoid graininess.
Follow the clear steps and you’ll have a go-to homemade chocolate ice recipe that you return to all year long. For a practical, tested version, try this easy chocolate ice cream.
Ingredients and Equipment for Homemade Chocolate Ice Cream
Gathering the right ingredients and tools sets up a flawless batch every time. Below is a compact shopping and gear list so your process is smooth from heat to churn.
Core ingredients
Heavy cream and whole milk form the rich base; milk’s fat helps prevent icy texture while cream gives body. Use granulated or natural cane sugar, a pinch of salt, and vanilla (extract or bean paste) to round flavor.
Two forms of chocolate
Use unsweetened cocoa powder whisked into warm dairy and finely chopped dark or semisweet bars (60–85% cacao) folded in off heat for depth and smooth mouthfeel.
Optional custard enrichers
Add egg yolks for a custard base if you want an extra-silky texture; temper yolks and heat to 170°F, then strain the base for a flawless mixture.
Gear checklist
- Ice cream maker (Cuisinart or KitchenAid attachment recommended)
- Medium saucepan, sturdy whisk, silicone spatula
- Fine mesh strainer, lidded batter bowl, measuring cups and spoons
- Freezer-safe airtight container for storing the churned batch
Chocolate Ice Cream Recipe: Step-by-Step

Start by building a warm, silky base that locks in deep chocolate flavor.
Make the base
Whisk together the cream and unsweetened cocoa powder with sugar and a pinch of salt in a saucepan. Bring to a gentle boil and simmer 30 seconds so the powder dissolves fully.
Remove from heat and add chopped chocolate, whisking until the mixture is glossy and smooth. Stir in whole milk and vanilla to finish the pourable base.
Build the custard (optional)
If you use a custard, warm milk with sugar and salt. Whisk eggs yolks, temper them with 1/2 cup warm milk, then return to the pan and cook to 170°F until it coats a spatula. Strain into the chocolate mixture.
Chill, churn, and freeze
Cool the mixture thoroughly in the fridge for 2–6 hours or use an ice bath. A cold base churns faster in the ice cream maker.
- Churn 20–40 minutes, watching for soft-serve texture.
- Transfer to an airtight container and press parchment on top to limit crystals.
- Freeze 2–6 hours for scoopable results.
Tips, Techniques, and Pro Notes

Small adjustments at key steps make the difference between a dense frozen dessert and a silky, scoopable favorite.
Prepare your maker bowl
Freeze the ice cream maker bowl at least 12 hours before you plan to churn. A fully frozen bowl keeps the churned mixture cold so the texture sets quickly and evenly.
No machine? Hand-churn method
If you don’t own an ice cream maker, freeze the base in a shallow metal pan. Every 30 minutes for 3–6 hours, beat the mixture vigorously with a whisk or electric mixer to break ice crystals. This simple routine mimics churning and produces a creamy result.
Texture troubleshooting
Prevent graininess by simmering cocoa powder with the cream and adding chopped chocolate only after you remove the pan from heat. Strain custard bases through a fine mesh to catch any cooked egg bits.
Avoid iciness by fully dissolving sugar, chilling the mixture thoroughly before churning, and storing the finished batch in an airtight, freezer-safe container.
If your batch is too soft after churning, return it to the freezer for 2–4 hours. If it’s too firm, let it rest at room temperature a few minutes or transfer to the fridge to soften gently.
| Problem | Cause | Quick Fix |
|---|---|---|
| Grainy texture | Chocolate added while hot or undissolved cocoa | Add chopped bars off heat; simmer cocoa into cream first; strain |
| Icy crystals | Undissolved sugar or insufficient chilling | Dissolve sugar fully; chill base well; store airtight |
| Too-soft scoops | Low fat or short freeze time | Freeze 2–4 hours longer; balance fat with cream and milk |
| Over-firm pint | Very cold freezer | Rest at room temp for a few minutes or move to fridge briefly |
Pro tip: Dip your scoop in warm water between servings to glide through dense, chocolate-flavored pints cleanly. Fine-tune richness by balancing fat, sugar, and churn time to match your taste and scoopability goals.
Variations, Mix-Ins, and Serving Ideas
Small swaps and bold additions turn a classic pint into something unexpected and memorable.
Flavor tweaks and substitutions
Use darker cocoa or Dutch‑process powder to dial up richness without extra sugar. Pick a 60% bar for a sweeter finish, or 70–85% for a deeper, more intense profile.
Swap half‑and‑half for whole milk if you want a slightly firmer texture. Add a pinch of espresso powder, orange zest, or a touch of vanilla to nudge the base in new directions.
Mix-ins and serving ideas
Fold in chocolate chips, cookie chunks, nuts, or cocoa nibs during the last minute of churn in your ice cream maker for even distribution.
Press scoops into cookie sandwiches, layer into cakes, pour warm caramel over a scoop, or blitz with milk for a thick diner-style milkshake. Portion pints into single-serve containers for easy entertaining.
| Tweak | Why | Effect on texture |
|---|---|---|
| Dutch‑process cocoa | Richer, rounder flavor | Smoother mouthfeel |
| 70–85% dark chocolate | More intense, less sweet | Denser, luxurious finish |
| Half‑and‑half for whole milk | Higher fat for body | Firmer scoops |
| Fold in mix‑ins late | Even spread of add‑ins | Consistent texture |
For a tested twist on warm chocolate treats, try this slow‑cooker hot cocoa method as a serving idea: slow‑cooker hot chocolate magic.
Chocolate Ice Cream
Store your churned pint in the coldest part of the freezer to keep texture steady and flavor fresh. Proper packing reduces ice crystals and keeps the flavor you worked for.
Storage and containers: best airtight picks and how long it keeps
Transfer the churned mixture into airtight, freezer-safe containers right away. Choose glass tubs, 1–2.5 quart ice cream containers, or round quart tubs sized to your batch.
Press parchment or wax paper directly on the surface before sealing the lid for extra protection. Store toward the back of the freezer where temperature is most stable.
- Smaller tubs freeze faster and portion easily.
- Label each container with date and flavor for easy rotation.
- Expect optimal quality for about 1–2 months, depending on your recipe and freezer consistency.
Nutritional snapshot and serving size guidance
A typical serving guidance is about 1/2 cup for desserts. For a quick reference, a 1/3 cup sample can be ~304 kcal, ~24 g carbs, ~22 g fat, and ~4 g protein — values vary with heavy cream, milk, chocolate percentage, and sugar in your recipe.
If the pint gets too firm, let it rest a few minutes at room temperature or temper in the fridge for cleaner scoops. Warm your scoop in hot water and shake off excess before dipping so it glides through dense, chocolatey pints.
| Tip | Why it helps | Result |
|---|---|---|
| Use smaller tubs | Faster, even freezing | Less iciness |
| Press parchment on surface | Blocks freezer air | Smoother top layer |
| Store at rear of freezer | Stable temps | Longer quality |
Conclusion
Strong, close the process by storing your batch properly and adding a simple finishing touch before serving.
You’ll be set to make a reliable ice cream when you freeze the ice cream maker bowl ahead and chill the base fully. Remember the core step: heat cocoa powder with the cream, then add chopped chocolate off heat and whisk until glossy.
Choose egg-free or custard paths to match your taste. Pack the mixture into airtight containers, label them, and freeze just long enough for scoopable texture.
Keep experimenting with chocolate chips, vanilla, milk ratios, and mix-ins to refine this ice cream recipe into your go-to homemade chocolate ice treat.