Have you ever pulled a cake from the oven only to find it sunken in the middle, dry around the edges, or with a texture that’s more reminiscent of a brick than a cloud? You’re not alone. The journey to perfect cakes is filled with trials and errors, but it doesn’t have to be complicated. With the right techniques and a few insider secrets, you can transform your baking from frustrating to flawless.
As a passionate baker who’s made (and fixed) every cake mistake imaginable, I’m excited to share these game-changing baking tips for perfect cakes. Whether you’re preparing for a special celebration or simply want to elevate your everyday baking, these foundational techniques will help you achieve bakery-worthy results right in your home kitchen.
The Foundations of Perfect Cakes
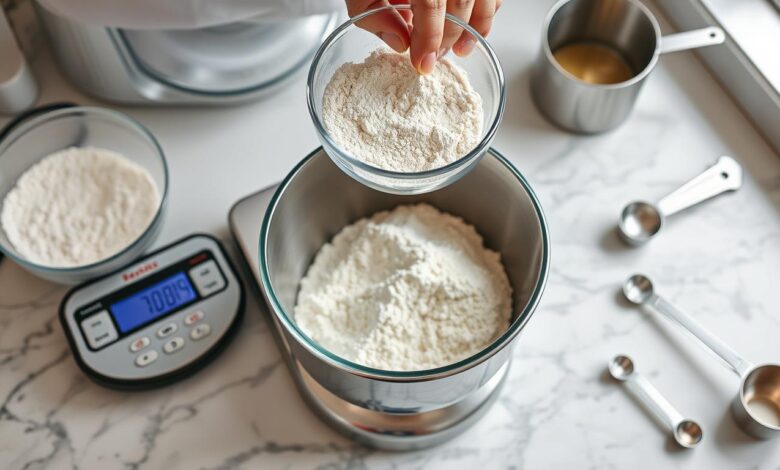
Precise measurements are the foundation of successful cake baking
Why Accurate Measurements Matter
Baking is a science, and precision matters. Unlike cooking where you can often eyeball ingredients, cake baking requires exact measurements to achieve the perfect chemical reaction that creates light, moist layers.
For the most accurate results, invest in a kitchen scale. Measuring flour by weight rather than volume ensures consistency every time. One cup of flour can vary by up to 30% depending on how it’s scooped, which can make the difference between a perfect cake and a dry, dense disappointment.
If you’re using measuring cups, follow this technique: fluff the flour with a fork, spoon it gently into the measuring cup (never pack it down), and level it off with a straight edge. This method gets you closer to the correct amount than scooping directly from the container.
Room Temperature Ingredients Explained
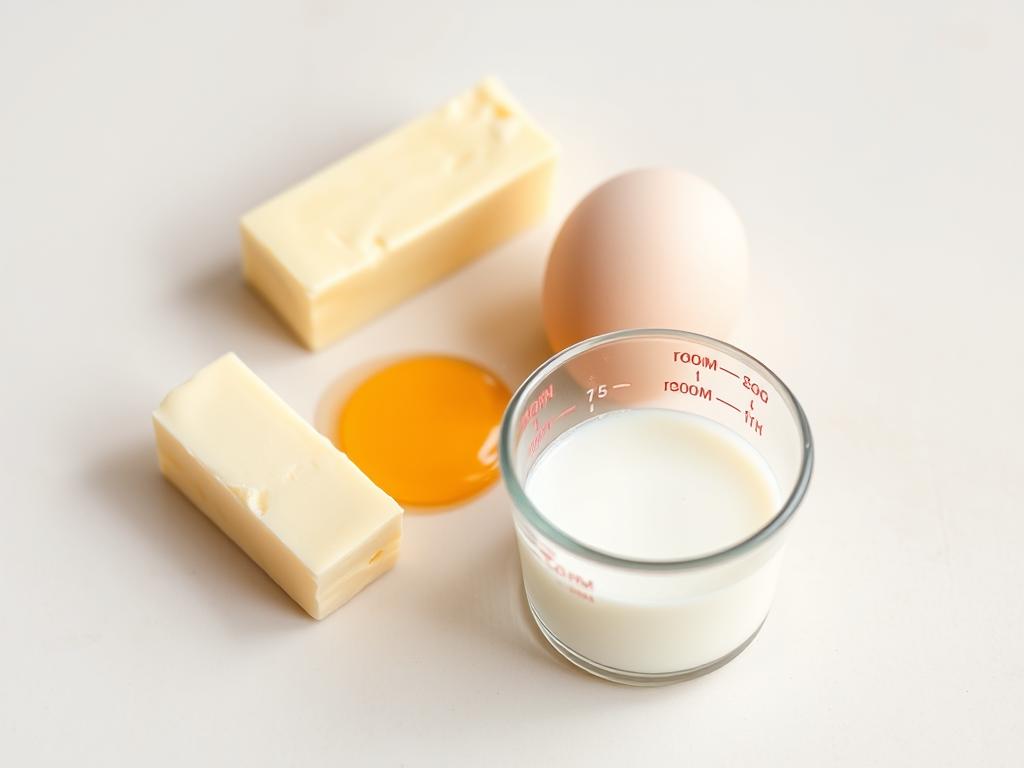
Have you noticed how many recipes specify “room temperature” ingredients? This isn’t just a suggestion—it’s crucial for proper emulsification, which creates that velvety cake texture we all crave.
Room temperature butter, eggs, and milk blend more easily and trap air more effectively during mixing. This air expansion during baking gives your cake its light, fluffy structure. Cold ingredients don’t incorporate properly, leading to dense, uneven cakes.
Forgot to take ingredients out ahead of time? Try these quick fixes:
- Butter: Cut into small cubes and let sit for 15 minutes, or microwave in 5-second intervals, rotating between each burst
- Eggs: Place in warm (not hot) water for 5-10 minutes
- Milk: Microwave for 10-15 seconds until just tepid (not warm)
Mixing Methods Demystified
Different cakes call for different mixing techniques, and understanding when to use each method can dramatically improve your results:
Creaming Method
Best for: Butter cakes, pound cakes, and most layer cakes
Technique: Beat softened butter and sugar until light and fluffy before adding other ingredients. This incorporates air for a tender crumb.
Tip: Don’t rush this step! Proper creaming takes 3-5 minutes and should result in a noticeably lighter color and fluffy texture.
Folding Method
Best for: Angel food cakes, chiffon cakes, and sponge cakes
Technique: Gently incorporate ingredients with a cutting and folding motion to preserve air bubbles in whipped eggs or egg whites.
Tip: Use a large rubber spatula and a light hand to maintain volume.
Step-by-Step Tips for Texture & Moistness
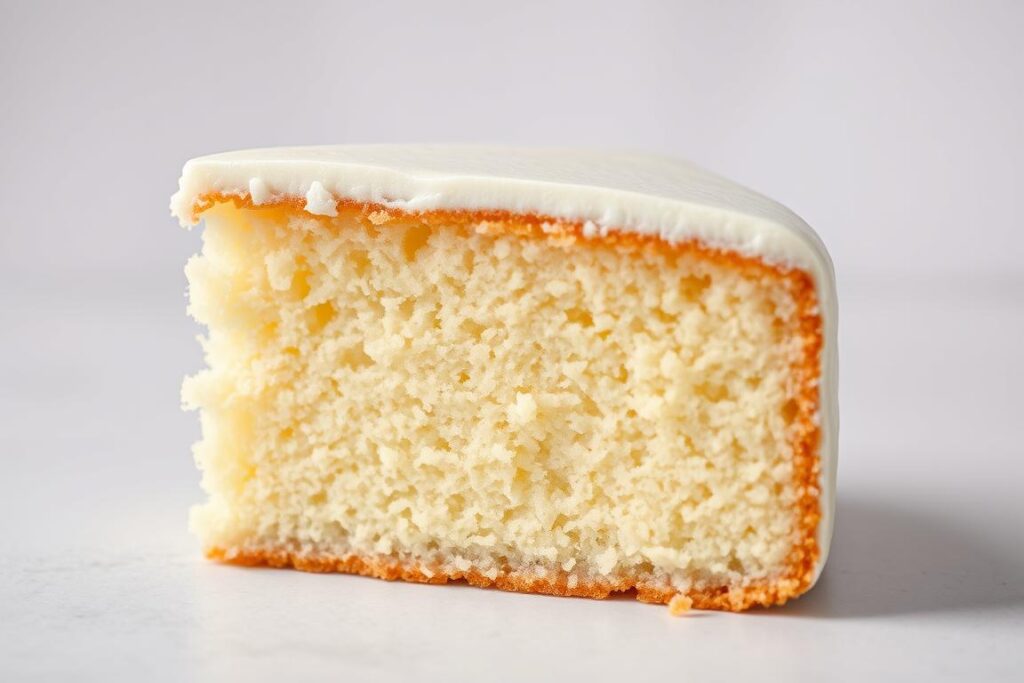
The perfect cake crumb: even, tender, and moist
Achieving the Perfect Rise
A beautifully risen cake starts with understanding leavening agents and how they work. Baking powder and baking soda aren’t interchangeable—baking soda needs acid to activate, while baking powder contains both the base and acid components.
Check your leavening agents for freshness: sprinkle baking powder in warm water or baking soda in vinegar—both should fizz vigorously. Old leavening agents are the most common cause of flat cakes.
Oven placement matters too. Position your rack in the center of the oven where heat circulates most evenly. For multiple cakes, leave at least 2 inches between pans and the oven walls to allow for proper air circulation.
Secrets to Ultra-Moist Cakes
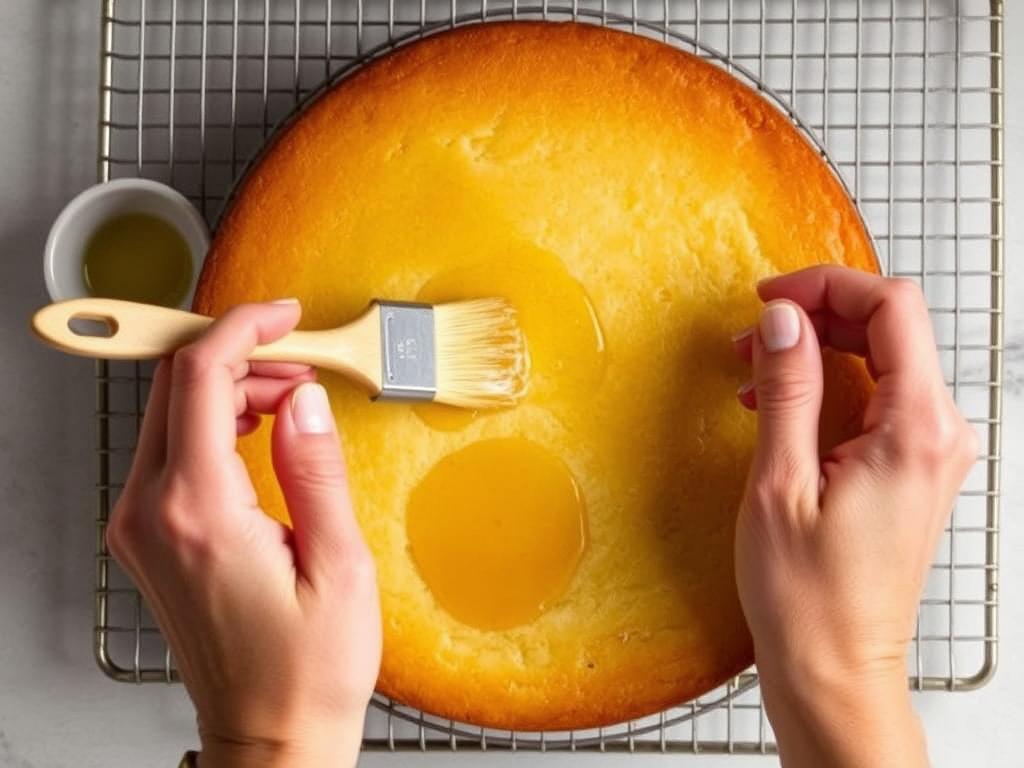
The secret to moist cakes lies in both ingredients and technique. Oil-based cakes typically stay moist longer than butter-based cakes, but butter provides superior flavor. For the best of both worlds, try recipes that use a combination.
Don’t overlook these moisture-boosting ingredients:
- Sour cream or yogurt adds tanginess while keeping cakes tender
- Applesauce or mashed banana can replace some fat while adding moisture
- Simple syrup brushed on warm cake layers locks in moisture (mix equal parts sugar and water, heat until dissolved, then flavor as desired)
The most common cause of dry cakes is overbaking. Start checking for doneness a few minutes before the recipe suggests. A cake is done when a toothpick inserted in the center comes out with a few moist crumbs (not wet batter).
Avoiding Crumbly or Dense Textures
The perfect cake texture comes down to two main factors: proper gluten development and fat balance.
For tender cakes, avoid overmixing once the flour is added. Overmixing develops gluten, which creates a tough, bread-like texture. Mix just until the ingredients are combined—a few small lumps are better than an overworked batter.
When a recipe calls for alternating wet and dry ingredients, follow this pattern: start with dry, then add wet, then finish with dry. This method minimizes gluten development while ensuring thorough mixing.
Common Cake Baking Mistakes to Avoid
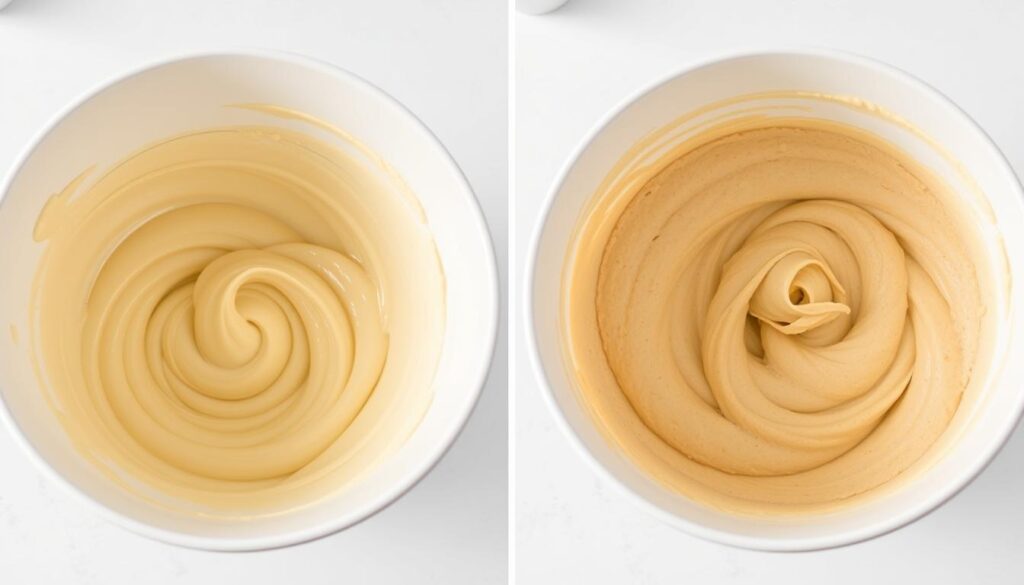
Left: Properly mixed batter with ribbon-like consistency. Right: Overmixed batter with visible gluten development
Overmixing the Batter
Stop mixing as soon as ingredients are incorporated. Visual cues: batter should be smooth but not elastic or stretchy. If you see “ribbons” forming when you lift the spoon, you’ve gone too far.
Incorrect Oven Temperature
Invest in an oven thermometer—most ovens are off by 25-50°F! Preheat for at least 20 minutes before baking, and avoid opening the door during the first half of baking time.
Skipping the Parchment
Line cake pans with parchment paper circles and grease the sides. This simple step prevents sticking and tearing when removing cakes from pans, preserving your hard work.
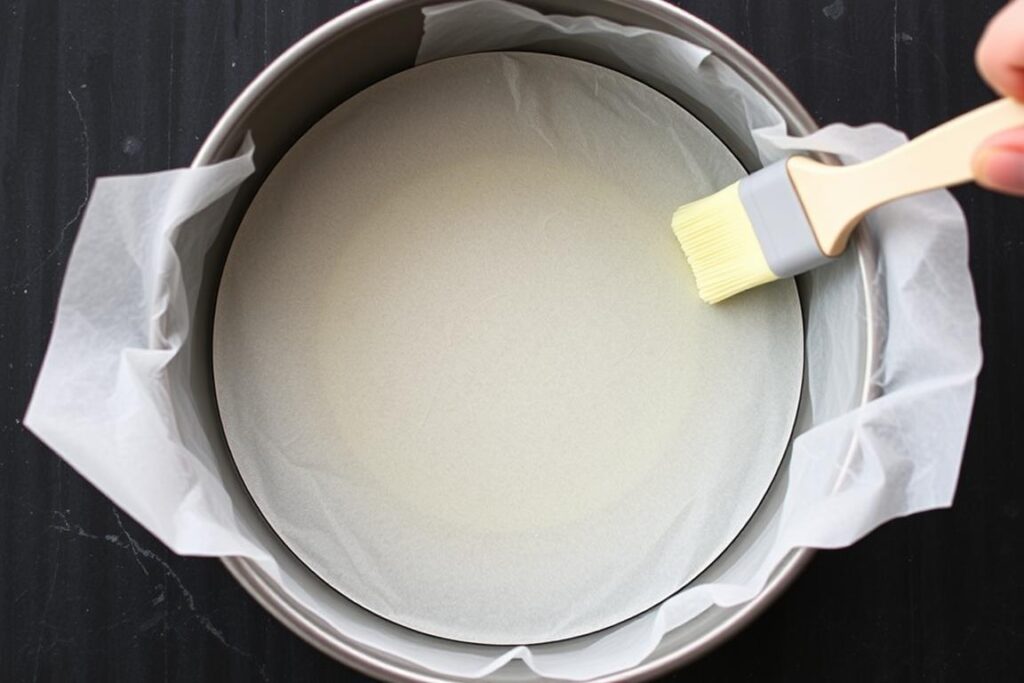
Another common mistake is not measuring ingredients properly. Baking is a science that requires precision. Too much flour makes cakes dry and dense, while too much sugar can cause them to collapse. Always use the proper measuring tools and techniques.
Rushing the cooling process is also problematic. Cakes need time to set their structure. Allow them to cool in the pan for 10-15 minutes before transferring to a wire rack. Attempting to frost a warm cake will result in melted frosting and cake crumbs mixing together.
Troubleshooting Guide: Fixing Common Cake Problems
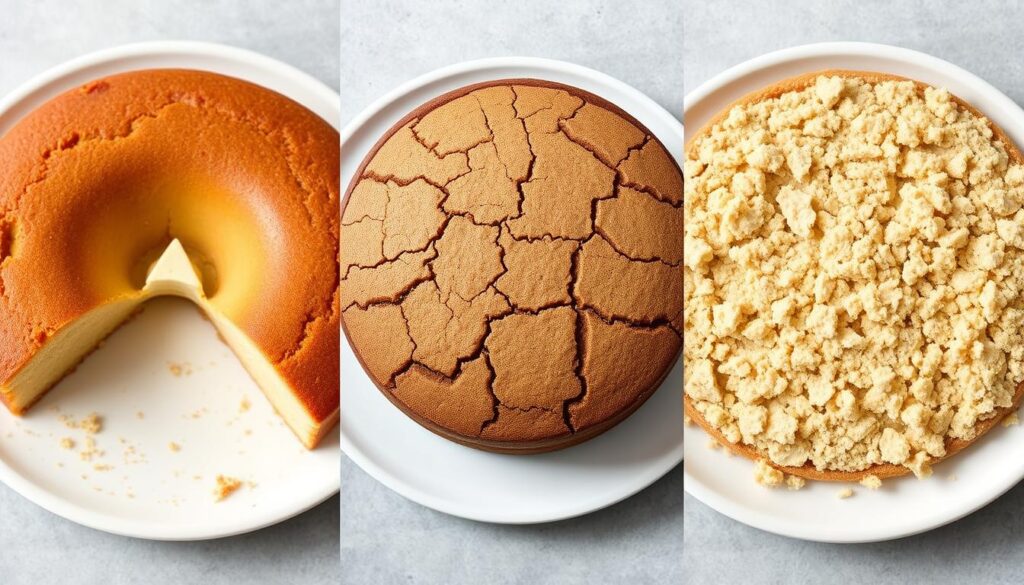
Why do cakes sink in the middle?
A sunken cake usually indicates one of these issues:
- Underbaking: The center wasn’t set before the cake was removed from the oven
- Opening the oven door too early: Causes a temperature drop that collapses rising batter
- Too much leavening: Excess baking powder/soda causes rapid rise and then collapse
- Overmixing: Creates too much air that expands and then deflates
Quick fix: If you’ve already baked a sunken cake, trim the top level and use the depression as a reservoir for filling, or cover with strategic frosting placement.
How can I prevent cracks on my cake?
Cracked cakes typically result from:
- Oven too hot: High heat causes the outside to set before the inside expands
- Improper pan size: Using a smaller pan than specified concentrates heat
- Dry batter: Not enough liquid ingredients
- Low humidity: Especially in winter months
Prevention: Place a pan of water on the bottom rack of your oven to add moisture during baking. For bundt cakes, fill the pan no more than 2/3 full to allow proper expansion.
Can I save a dry cake?
Yes! Try these rescue techniques:
- Simple syrup soak: Brush warm simple syrup over each layer
- Milk soak: For vanilla or chocolate cakes, brush with milk
- Frosting barrier: Apply a crumb coat of frosting to seal in moisture
- Trifle transformation: Cube the cake and layer with cream and fruit
Pro tip: Store your finished cake under a cake dome or in an airtight container to maintain moisture. Refrigeration accelerates drying, so only refrigerate if absolutely necessary (like with perishable fillings).
Expert-Level Tips for Professional Results
Decorating Like a Pro
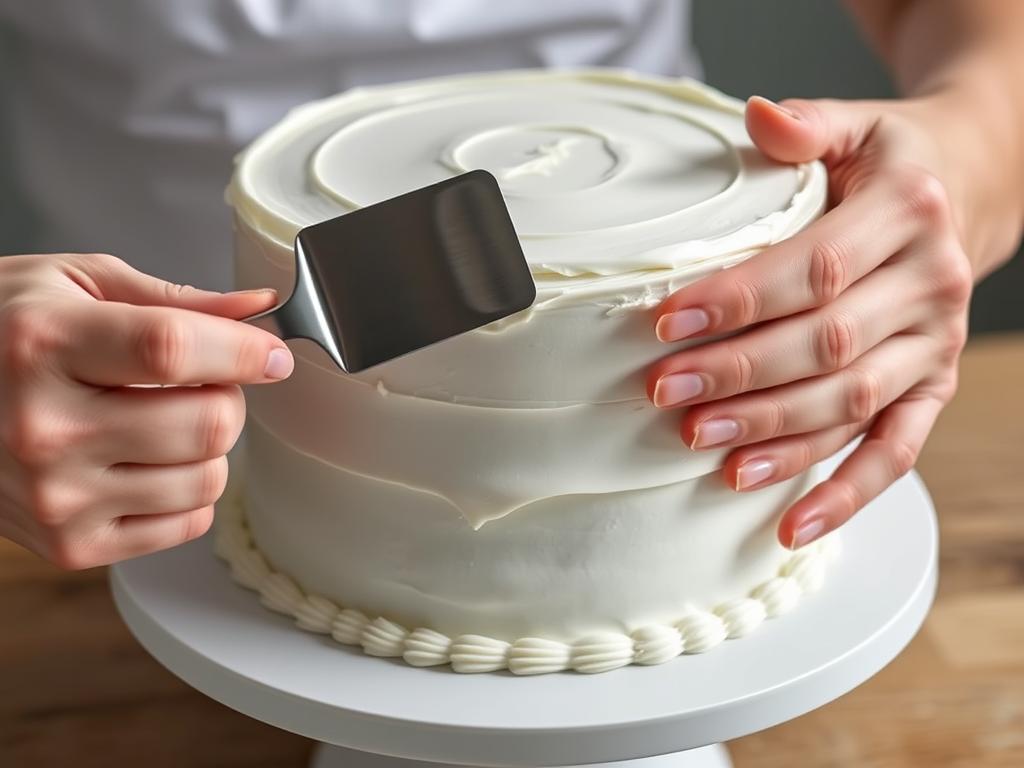
A smooth frosting finish starts with the right tools and technique
Even the most perfectly baked cake can be elevated (or undermined) by its decoration. For professional-looking results:
- Always start with a crumb coat—a thin layer of frosting that seals in crumbs—then chill for 20-30 minutes before applying the final coat
- Invest in an offset spatula and a cake turntable for smooth, even frosting application
- For perfectly smooth sides, heat your metal spatula in hot water, wipe dry, then glide it along the frosting
- When piping, practice your design on parchment paper first—you can scrape it off and reuse the frosting
Remember that simple can be stunning. A naked cake (minimal frosting showing the layers) or a rustic textured finish often looks more impressive than complicated decorations gone wrong.
Storing Cakes for Freshness
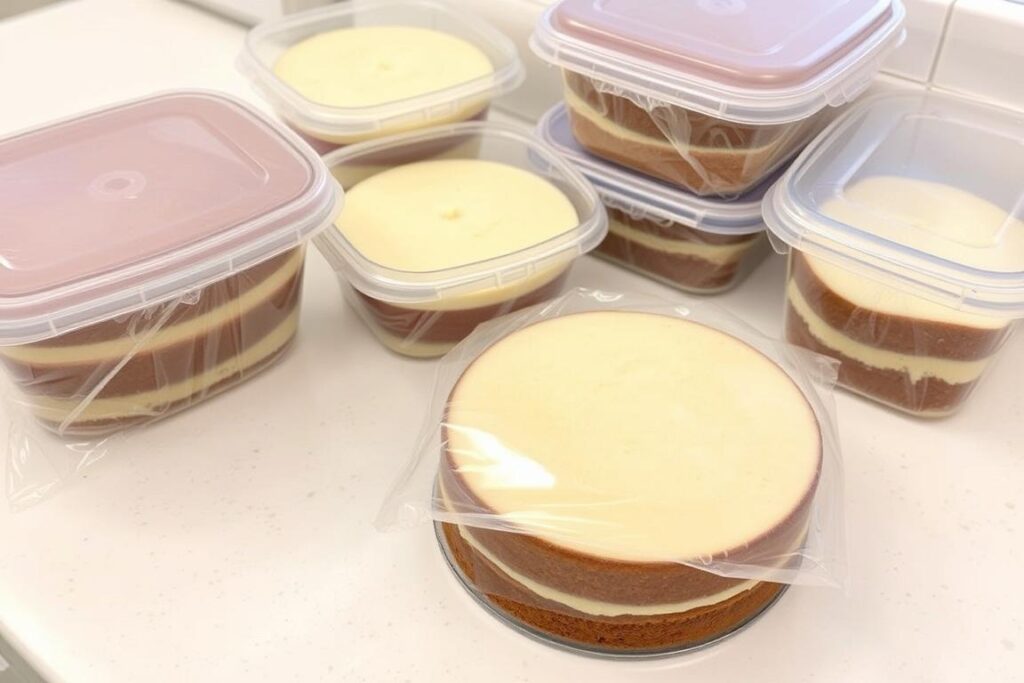
The way you store your cake can significantly impact its texture and flavor:
| Storage Method | Best For | Duration | Tips |
| Room Temperature | Most frosted cakes | 2-3 days | Use a cake dome or invert a bowl over the cake to protect it |
| Refrigerator | Cakes with perishable fillings | 3-5 days | Bring to room temperature before serving (1-2 hours) |
| Freezer (unfrosted layers) | Make-ahead preparation | Up to 3 months | Double-wrap in plastic wrap, then foil |
| Freezer (frosted cake) | Leftover cake | Up to 1 month | Freeze unwrapped until firm, then wrap tightly |
For unfrosted layers, cool completely, then wrap individually in plastic wrap. For longer storage, add a layer of aluminum foil. Label with the date and cake type for easy identification later.
Your Journey to Perfect Cakes Starts Now
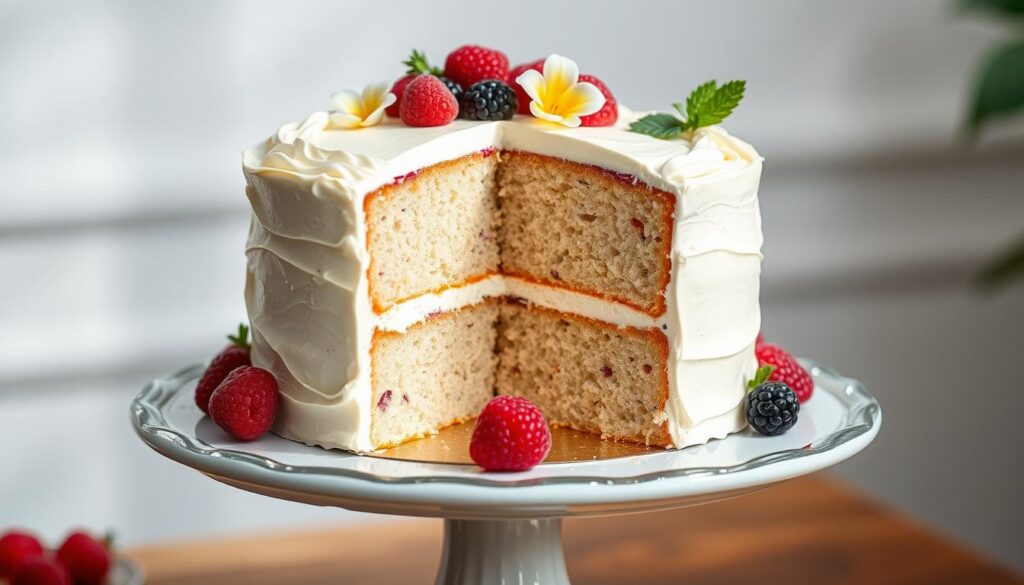
With practice and the right techniques, bakery-worthy cakes are within your reach
Baking the perfect cake isn’t about having professional training or fancy equipment—it’s about understanding the science, practicing the techniques, and paying attention to the details. With the tips we’ve covered, you’re well on your way to creating cakes that not only look impressive but taste amazing too.
Remember that even professional bakers had to start somewhere. Each cake you make is an opportunity to learn and improve. Don’t be discouraged by occasional failures—they’re valuable lessons on your baking journey.
Ready to Put These Baking Tips for Perfect Cakes Into Practice?
We’d love to see your creations! 🎂
Try these techniques with your next cake and share your results with us.
#GourmaraBakes
